Friday, July 27, 2012

I am back!

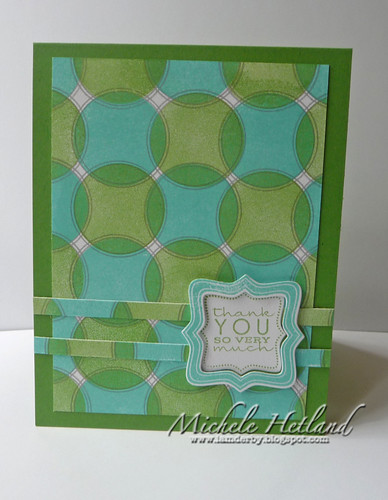
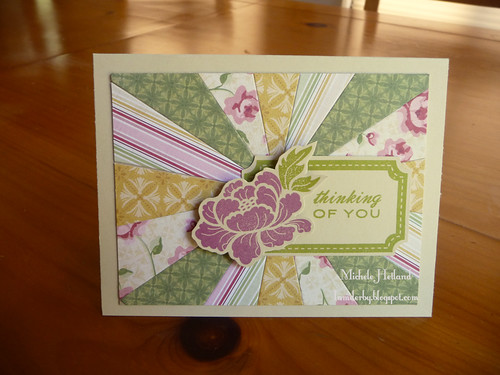
Hello friends! Well I am back, for the moment anyway. I have made exactly one card since I came home and this is it. I am still on a high from my awesome 5 days on the east coast. P1070325
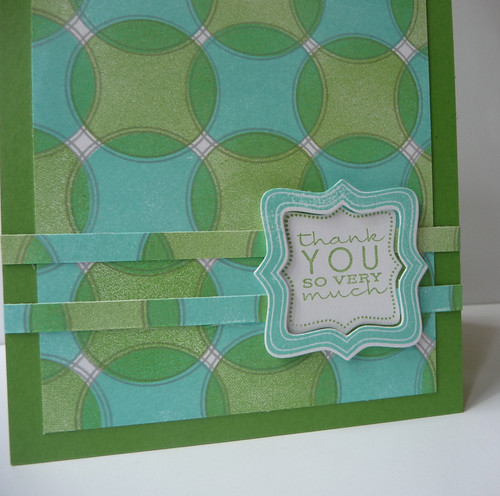
This card uses the sun dies from PTI. The papers are from Cosmo Cricket- fairly new. Stamp sets are Fillable frames and Pretty Peonies. I used Simply Chartreuse and Autumn Rose i nk.

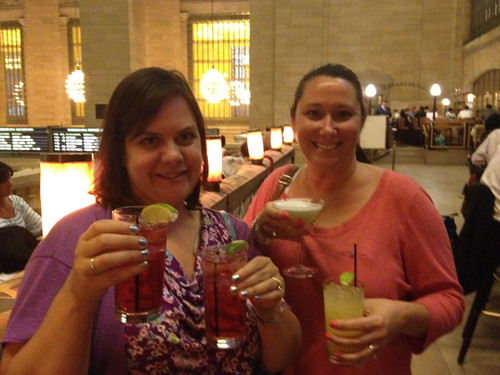
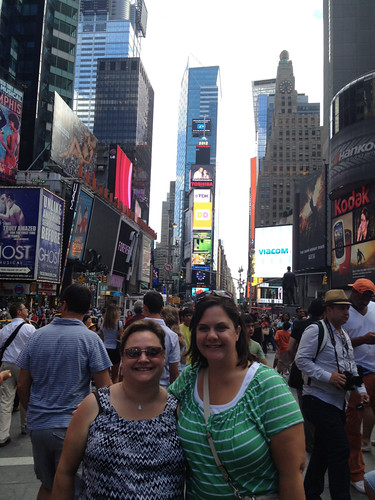
Below are a couple of shots from my NYC/Connecticut trip.  I can not even tell you how much fun I had.  It was the best!
IMG_1315
 At Grand Central enjoying the bar.
 IMG_1353
In Times Square gawking at the crowd.

Monday, July 16, 2012

Digital Scrapbook Page- Disney

Hello Friends!  I have my first from scratch Digi scrapbook page.  As I have mentioned several times I have been learning PSE (Photoshop Elements) from JessicaSprague.com.  In fact that banner sticker is hers and recolored it.  All the other cute stuff on here I downloaded from http://justjaimee.com/.  If you have never made a digi scrapbook page one thing you might find interesting is that you can do as little or as much work as you want.  The easiest way to go is with a digital template.  The other pages I shared used digital templates from JessicaSprague.  Those are very simple to use, you just clip in your pictures and add your journaling.  The page above is made from many different elements.  I used two different papers, a border, three ribbons, two stickers, and a brush.  Each bit is downloaded and can be colored and tweaked and then added.

Will I keep this up?  I have no clue!  But it is so fun to find/buy new digital kits and play with all the parts.  Its almost as satisfying as using actual paper.  One thing the above page is missing is drop shadows, which are little shadows to make it look more real.  Somehow I forgot that part- ah well.  A little at a time, piece by piece.  Thanks for stopping in and as soon as I am back from NYC I will be back with some new cards!

Sunday, July 15, 2012

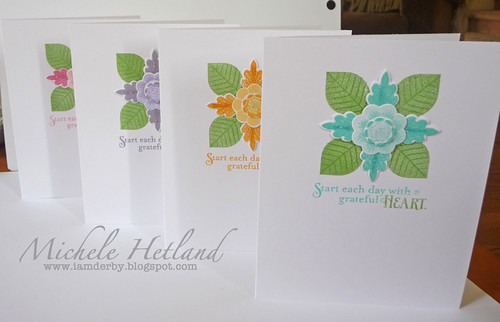
Lovely Layers Card Set with Quick and Easy Packaging!


Hello friends!  Well I made it back from Southern California where the hubby and I took the kids to Disneyland for a few days.  I have crafted exactly one thing since then and here it is! 
 P1070306
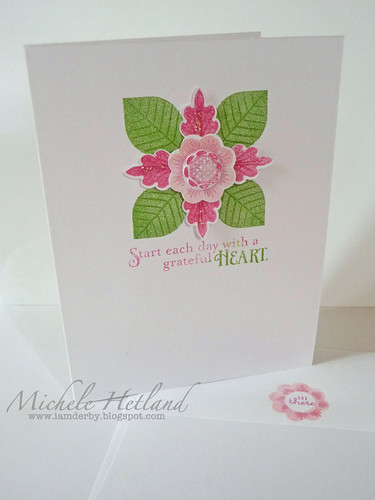
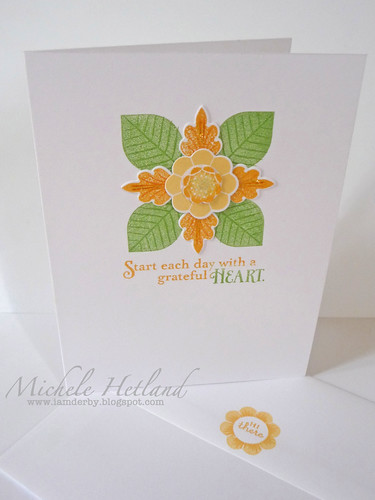
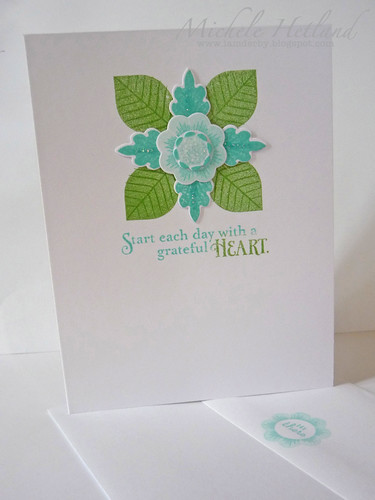
It's a card set using the PTI stamp set, Lovely Layers.  I also have the dies for this set and used them here as well.  Most of the ink is PTI but there are some dew drops mixed in as well.
 P1070307
This pink card was the first one I made.  I love the mulitcolored sentiment.  When I was done with this card I liked it so much I decided to make a set.  Whenever I make a set I do up the envies too so that is what you see on the bottom.  Its the back flap.  I also added stickles to the focal point for a little glitz.
 P1070308
In Summer sunrise and golden harvest here....
 P1070309
Hawaiian shores and aqua mist....
 P1070310
Winter wisteria and plumeria dew drop....
 P1070311
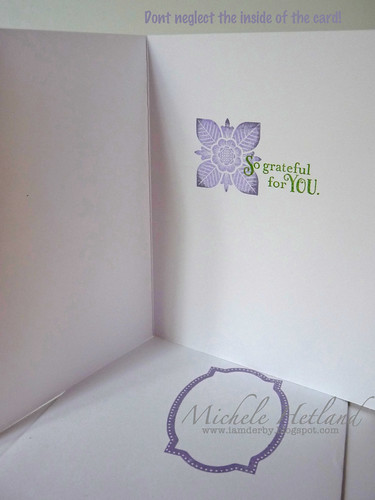
 The inside of the card needed a little something as well.
P1070312
I've got some notes for you on the picture.  I finally learned how to use the text feature in PSE and now I am out of control!
 P1070313
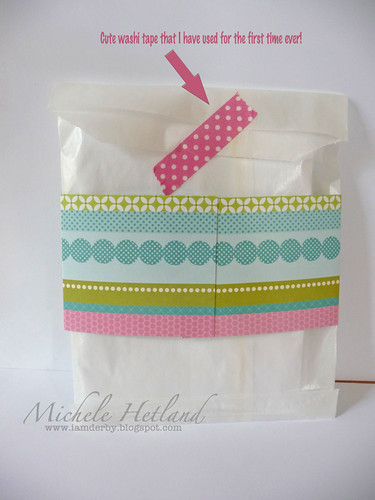
 Thanks so much for stopping in today.  I am off to see my good friends on the East Coast soon and then after the 24th the blog will resume a more normal posting schedule!

Saturday, July 07, 2012

Wedding Card

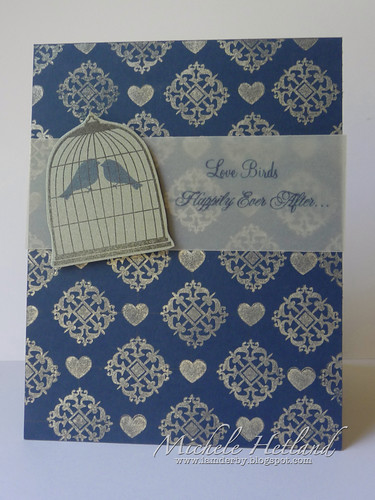
Hello friends!  I have a wedding card for you today which is not something that I make too often.  I used an old set from PTI called Wedding Day along with a newer PTI set called Love Birds.  The background is made with two stamps from Wedding Day.  I drew out a grid with my T square to keep things on track.  I stamped in silver ink on Enchanted evening paper.  I cut down a strip of vellum and combined the Love Bird sentiment with a sentiment from wedding day.  Stamped those in Enchanted evening.  I stamped the bird cage on silver paper and cut it out.  Added two enchanted evening birdies.  Thats all there is to it!

P1070253
Wanted to let you know the blog posting will be real sporatic until after the 24th of July.  I've got some out of town and in town plans that will leave no time for crafting let alone picture taking and blogging.  I do have a couple of photos still waiting to be blogged and if I have time I will schedule them but right now I am thinking thats probably not going to happen.  So in any case thanks for coming by and I will see you in the end of July!

Wednesday, July 04, 2012

Happy 4th!

Hello friends!  Happy Fourth!  The 4th of July just happens to be my daddy's birthday.  I always thought that was pretty amazing when I was a kid.  We thought all the fireworks were just for him.  Hmmm I wonder who led us to believe that?!  Anyway here is the card I made for my dad.

P1070252
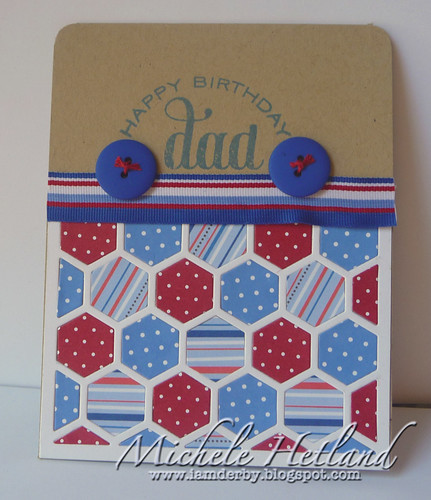
I sometimes wonder if my dad gets sick of his birthday having a red, white, and blue theme. I remember many of his cakes being these colors as well!  For the card I used PTI's Happy Hexagon plate, doodlebug papers, ribbon, and buttons.  The dad sentiment is from WMS compact relatives (I think thats the name).  The happy birthday is from PTI birthday basics.  That's it for card stuff!

I just wanted to say Happy Birthday Dad!  I love you and I think you are a wonderful father.  I hope your birthday is enjoyable and you have a good time celebrating with my niece, stepmom, and baby brother.   Hope to see you soon!  And here is a very old picture of Dad and me:
Here we are back in the day- circa 1976 I would say.  Notice the gorgeous couch and "matching" afghan!  LOL!

Sunday, July 01, 2012

Queen Bee

Hello friends!  Happy July 1st!  Wow, this summer is flying by!  I have a few more days until my plans really pick up the pace- so for now I will enjoy the leisurely summer I have going on so far.  Today's card was made specifically for a friend of mine.  She was celebrating her 40th birthday yesterday.  I was reading a book and then suddenly out of nowhere this card idea popped into my head.  I threw the book down and fairly ran to the craft table.  It came together really fast. P1070251
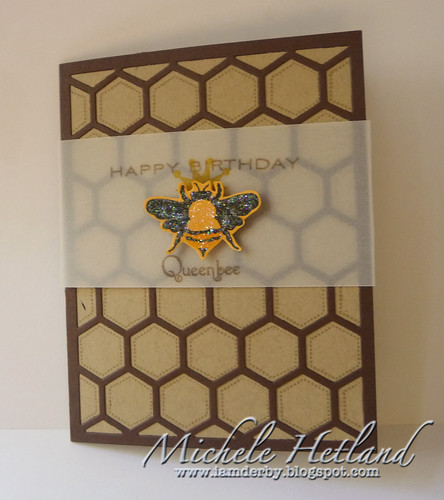
 I started with the PTI hexagon coverplate.  I cut the coverplate out of dark chocolate paper.  I laid it on my craft and then stamped the little interior stitching in craft ink.  Next I got a piece of summer sunrise and stamped the big bee from honeybees.  I hand cut the bee and added crystal stickles.  I got a piece of vellum and stamped on Happy Birthday (Birthday Basics) and Queenbee and the crown from HoneyBees.  Thats all there was too it!  Thanks for stopping in today!

Friday, June 29, 2012

Just Because....

Good Morning Blog Friends!  I have another guidelines card for you today.  I made this back when I was making all the others but then I got distracted by Shapes by Design, lol!  Anyway its been sitting in the picture que waiting its turn!P1070173
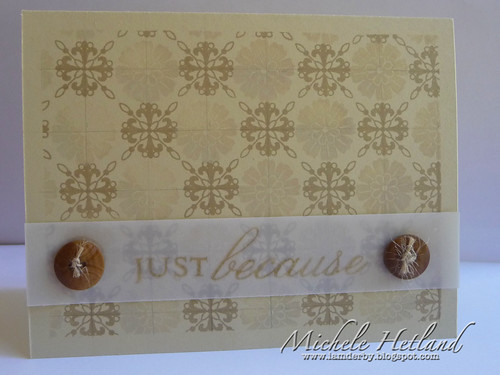
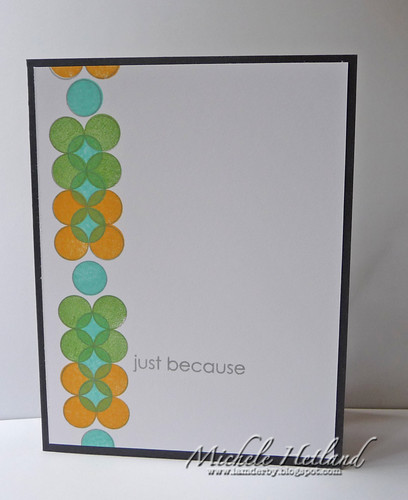
 This card has a fine linen base.  I masked a border using eclipse tape.  I drew a grid on in pencil using my trusty T square.  Then I set to stamping the design using stamps from both guidelines 1 and 2.   I used kraft ink and a chalk ink (dew drops wheat?).  The vellum border is stamped with a sentiment from giga guidelines.  The buttons are from my real "vintage" button collection.  A friend's mother gave them to me, she clipped them off old clothes and the like.

Thursday, June 28, 2012

More Shapes by Design

Hello blog friends!  I have the last of the Shapes by Design cards for you today.  I worked on these a few weeks ago but just recently got around to editing the photos.
 P1070174
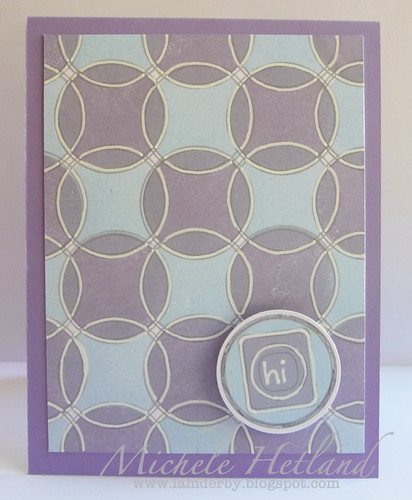
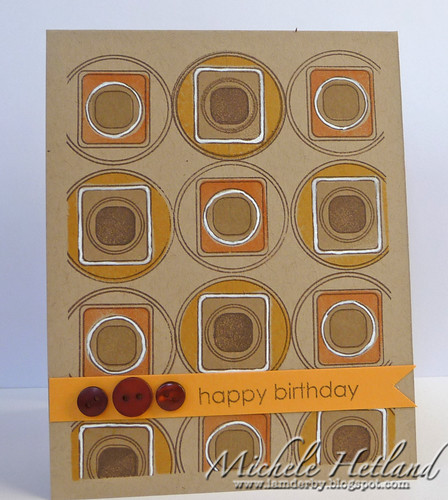
This first card has the circles over lapped just as they were on the teal/green card I shared a few days ago.  However this time I took my white gel pen and outlined the circles so they stand out more.  On the sentiment where the grey looks a bit messy I outlined it in a twinkle pen, in real life it just looks sparkly, in the picture it just looks uneven.  The colors used here are Winter Wisteria and Spring Rain.

 P1070175
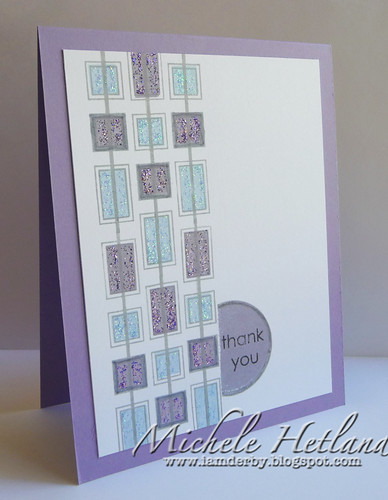
On this second card I used the same color scheme.  I used the rectangle stamps and I masked the circle for the sentiment.  I used stickles in blue and purple over each of the boxes.  It is so sparkly in real life, not so much in the picture.   Anyway just a few more things you can do with the PTI shapes by design set.  A lot of possibilities with that one- especially if you like clean and/or graphic designs.

Wednesday, June 27, 2012

Happy Hexagons and Other News

Hello friends! Happy Wednesday! Boy do I love summer! I have been spending the last few days getting to know Photoshop elements through classes from Jessica Sprague. So worth the money (no they are not paying me to say that). I am excited because it went from so frustrating to so cool over the last few days.

 Also brought to my attention today was the inability to pin any of my cards. I did not do that on purpose. A few months back I switched over to using Flickr instead of uploading directly to blogger. Apparently the default on Flickr blocks others from sharing your work. I have opened up my permissions, so feel free to pin away. I am always flattered by that.

 Ok, on to today's card. This one uses the new happy hexagon stamps from PTI. I have a color scheme of lavender moon, autumn rose, and scarlet jewel (old dye version).  Its weird cause the autumn rose is almost as dark as my old scarlet jewel.  I am not sure what the new scarlet jewel is like.  The sentiment is stamped in Autumn rose as are the floral hexagons.  The gingham are in SJ.  P1070176
Thanks for stopping in today!

Tuesday, June 26, 2012

Lovely Layers 2

Good Morning friends! I am just about to dash out the door to spin class but I thought I would take a minute to update the ol' blog. You may notice I have a new header. Made it with the Jessica Sprague free class. It needs tweaking but I like it well enough. P1070177
And here is today's card! I am in love with the Happy Hexagon cover plate. LOVE it! Also pretty in love with Lovely Layers as well.  I have a golden harvest base stamped with summer sunrise ink.  White hexagon cover plate.  Autumn rose, scarlet jewel and lavender moon lovely layers with some New leaf accents.  Thanks for stopping in today- I gotta run if I am going to make my class!

Monday, June 25, 2012

Lovely Layers

Hello friends! I have something different for you today. My PTI package showed up right before the weekend. (Well truth be told I had to tussle with UPS to get it... but thats another very long story...) I got some cardmaking in over the weekend- I even got photos taken! P1070178
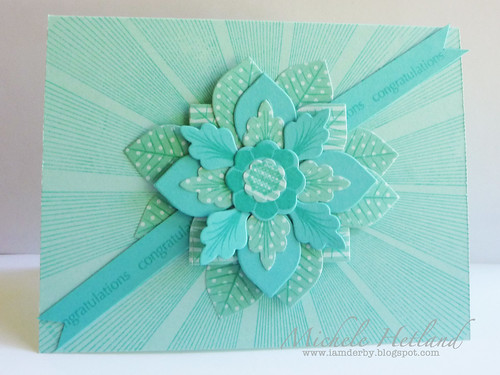
I started with an aqua mist base.  Then I took the new sunshine set and made the rays.  You can see that they are not perfectly spaced- but this was my first attempt with them and I was cool with how it came out.  Next I took the limitless layer dies and cut quite a few out and begin stacking.  I did cut some of the leaves so its not like these are all still hooked together.  I stamped them with their coordinating stamps in Hawaiian Shores ink.  I added a congratulations sentiment on a diagonal ribbon strip.  That's all there was to it.

The next thing I am even more excited about.  A few months ago I bought Photoshop Elements so I could watermark my cards.  Yes I paid 80 bucks to watermark my cards.  Then I had this great editing program that I wanted to fully use but I had no clue how.  I am pretty computer savvy but this program is not the most intuitive plus its HUGE.  So yesterday I signed up for a free class by Jessica Sprague.  Here's what I made:

JS-SecondDigitalPage_CarrieCole
This is after half of one free class. That Jessica Sprague is something else. I had never taken an online class before but this was really good. So good in fact, that I just bought two more classes. They are 20% off right now! Stock up! LOL! Anyway its amazing how much easier Photoshop is when you actually have a clue to what you are doing.

Sunday, June 24, 2012

Shapes By Design 3

Hello there friends! Thank you for all your comments over the last two days. I freely admit to begging people to come to my blog on the PTI message board! I am pathetic! Actually I was just really excited about rediscovering this set. When I went back into the archives to see other things I had made with it I had just barely scratched the surface. Sometimes I get so into shopping and the next big thing I forget about those things I already have. That was my long winded way of saying Thank You!
 P1070172
Here is today's card.  Again using Shapes by Design for both the graphic and the sentiment.  The circles (its one big stamp) were stamped in smokey shadow.  Next I took the small companion circle and filled in the circles with three different inks, golden harvest, new leaf, and hawaiian shores.  The sentiment is also in Smokey Shadow.  I mounted the whole thing on Smokey Shadow cardstock.

I have quite a few more of these Shapes By Design cards as well as some new stuff from PTI.  I had planned on photographing everything yesterday but then I got lazy and spent half the day reading.  Hopefully today I will get up off my butt and be more productive!  Thanks for stopping in!

Saturday, June 23, 2012

Shapes By Design Day 2

Hello Friends! I have been having so much fun with old Shapes By Design set.  I looked it up and it was indeed designed by Ali Miles for PTI.  I believe it came out in 2008.  I got it out the other day because I was thinking of selling it (lets be honest I have way too many stamps).  I thought I should give it one more shot before I listed it and now I don't think it will be leaving the house.  I have made 8 cards since I got it out!
P1070169

To make this card I used two of the circle stamps.  I drew a one inch grid on my paper using a T square (seriously best tool ever).  Then I took to stamping with the outline circle.  After stamping that outline I went back and erased the gridlines.  Next I filled in with the solid circle using two colors of ink (new leaf and hawaiian shores).   Those little strips are the ends I cut off when cut the front down to mat it.
 P1070170
The sentiment and frame are from Framed Out two.  I thought they fit the design pretty well.  Everything is matted on a New Leaf base.   I still have four or five more shapes by design cards so come back tomorrow!  Thanks for stopping in!

Thursday, June 21, 2012

Shapes by Design

Good Morning friends!  I hope you are all well this Thursday morning.  I have a couple of cards I made on Tuesday.  I pulled out a really old set from PTI, Shapes by Design.  I think it was designed by Alli Miles.
 P1070163
My first card uses a craft base and a color scheme of dark chocolate, summer sunrise, and orange zest.  Its a little too 70's for me but it was a lot of stamping so I will give it out for the next guy birthday we celebrate.  If I were to do it again I would change the colors.
 P1070165
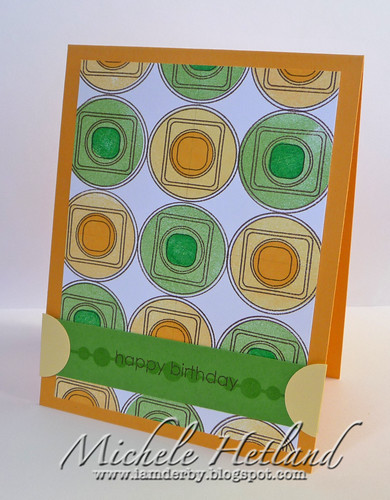
I like this next one a lot better.  Color scheme of New Leaf, Viridian Green, Dark Chocolate,Golden Harvest and Summer Sunrise.  Shapes by Design stamp set. 

I notice I am getting a lot of crafting done now that its summer.  I am also not working this summer for the first time in 5 years.  I miss my little summer jobs- but there wasn't anything to be had this summer.  However more time for relaxing and crafting.  We spent a very enjoyable day yesterday at my daughter's promotion from 6th grade.  One of her friend's parents invited us over for an impromptu BBQ.  It was really fun and its always nice to get to know the parents of her friends. As for today I am off to spin class in a few minutes.  I am completely rusty but its a great workout- for the body and the mind too.  Its good when your muscles are nice and sore.  (Or so I tell myself!)  Have a great day and thanks for stopping by!

Wednesday, June 20, 2012

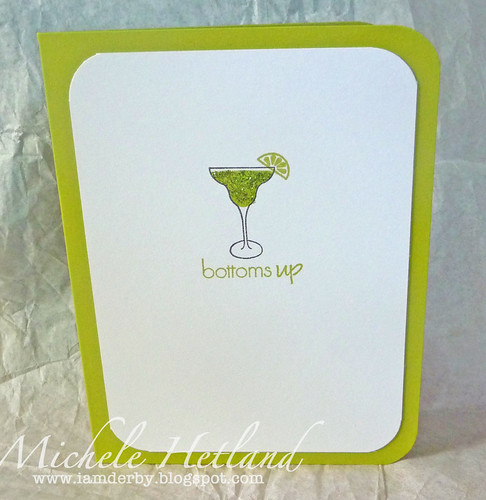
Bottoms Up!

Hello Blog Friends!  Today I have a cute little card for you featuring the drink stamps from PTI's Day at the Beach.
P1070105
This first card uses berry sorbet ink and cardstock.  I have stickles on the actual drink.

P1070104
This card uses a Simply Chartreuse color scheme, again with stickles on the actual drink.


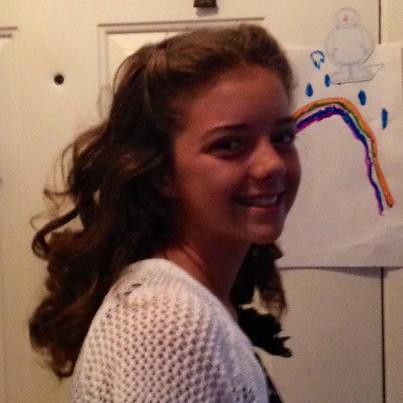
Finally I just have to share that my baby girl is promoting from 6th grade today.  I can't believe she isn't a baby anymore!  Here she is on her first day of Kindergarten.
carrie k
and today heading off for the last day of 6th grade.
carrie6

Tuesday, June 19, 2012

One Layer, One Ink

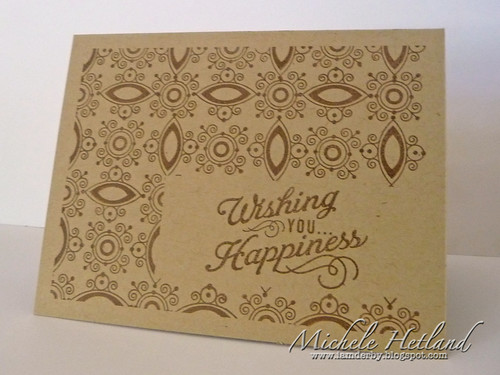
Hello there blog friends!  I have a couple more cards I made yesterday after watching PTI's Make It Monday video.  Sometimes I forget how much I like something- like masking for instance.  I ran my quarter inch eclipse masking tape all around each card.  I then die cut some to mask the border and sentiment.  I drew in my grid with pencil and a T square and went to down with my guidelines 1 stamps.  Stamps used here are guidelines 1 and framed out 2.  Ink is dark chocolate (original version).
P1070147
Next I decided to get a little fancy.  I used the same technique as described above except that after I finished I came back in with two colors of stickles and my copic opaque white.  Opaque white is not a pen.  Its a little pot of paint.  I used a fine liner brush and colored all those little spots white.  And there you have it!  Thanks so much for stopping in today!

P1070145

Monday, June 18, 2012

Make It Monday

Hey there friends! Its Monday, I have no work until... well the point is I have no work! So today I got busy on the new Make It Monday over at Papertrey Ink. Details are here. Today Betsy V. showed us how to mask off sentiments. This is something I already knew but its always fun. I don't use post its- I use eclipse masking tape. I love that stuff. So worth the money. My LSS carries it in several widths. P1070146
I used Guidelines 1 and Movers and Shakers.  I masked off the border and the sentiment box.  I was going to draw lines like Betsy did but my pen did not match the ink color very well and I liked it like this.  A true one layer card with one kind of ink and paper.  CRAZY!  LOL

Sunday, June 17, 2012

Waltzingmouse Blog Party


Hello friends! Its the 17th which means its time for the Waltzingmouse blog party! You can get all the details here! For this party we were to draw inspiration from a photo on the WMS blog. I don't have a copy but if you head over on the link you should see it. Its a lovely teal room with three paneled rectangles and some cherry branches. Gray and orange are also featured in the color scheme. P1070136
I used a light teal background stamped with the diamonds from Heirloom Patterns.  I used my spellbinders for the little rectangle panels.  The branches are from Teeny Trees, as is the sentiment.  I used some orange ribbon and orange gems to complete the card.  I had fun making it, especially using these colors.  thanks for stopping in!

PS:  A quick little shout out to my husband who is the best dad to our kids!  Happy Father's day!

Saturday, June 16, 2012

Guidelines Gift Set

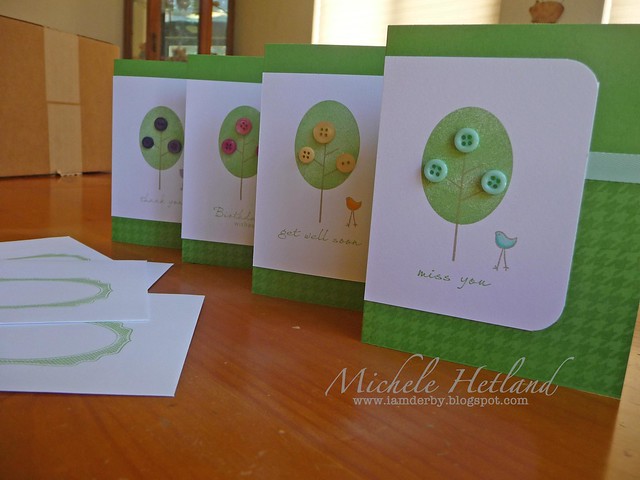
Hello friends! I have another card set for you today. This one is for one of my children's teachers. I decided to pull out a few old sets that I really love for these cards- The Guidelines series from Papertrey Ink.
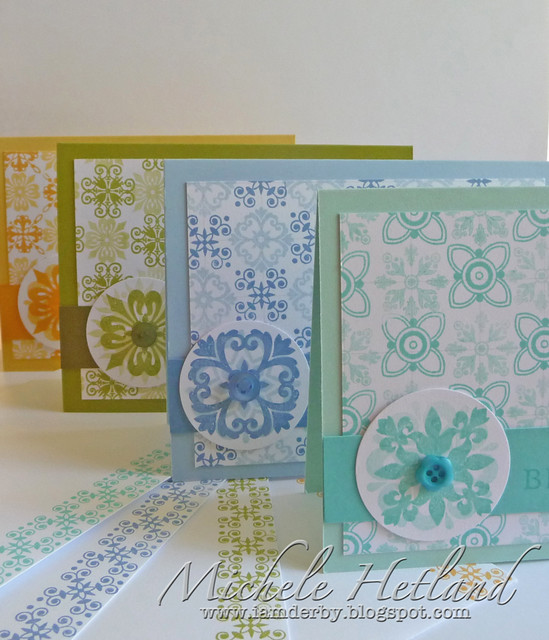
 P1070143
 Here is the whole set all together. Its a set of four cards and four decorated envelopes. P1070142 This card has a color scheme of Golden Harvest and Summer Sunrise. The button is from Doodlebug (probably the only non-papertrey item in the whole set!) P1070141 This card has a color scheme of Spring Moss, Ripe Avocado, and Simply Chartreuse. I used Spring Moss (old pigment formula) and Simply Chartreuse inks (new formula). P1070140 This card is Spring rain and Blueberry Sky. The blueberry sky ink is a bit darker than the cardstock but I really like it. Its one of my favorite inks. These are both the new formula. P1070139 This card is aqua mist (old pigment formula) and Hawaiian shores (new formula). The new Hawaiian shores is a perfect match. I hate all the hit and miss with the inks. I will say though that I have never tried an ink brand where at least a few of the colors were duds. If you know of a brand that has perfect ink across the board I want to hear about it! (Unless its pigment- I hate pigment). P1070138
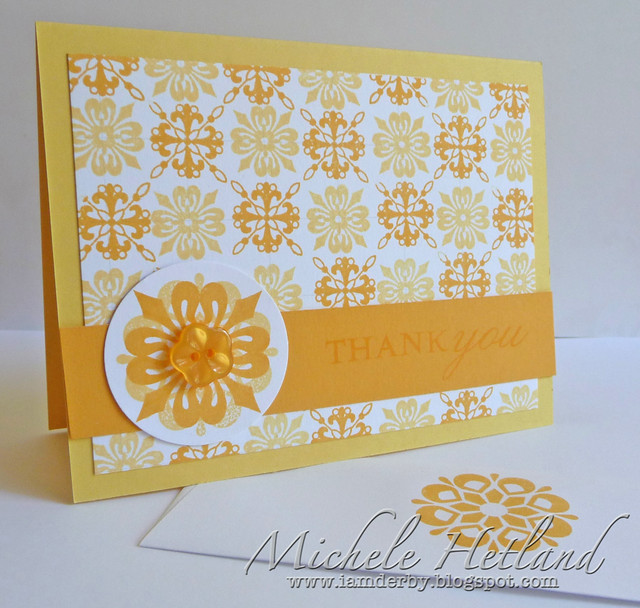
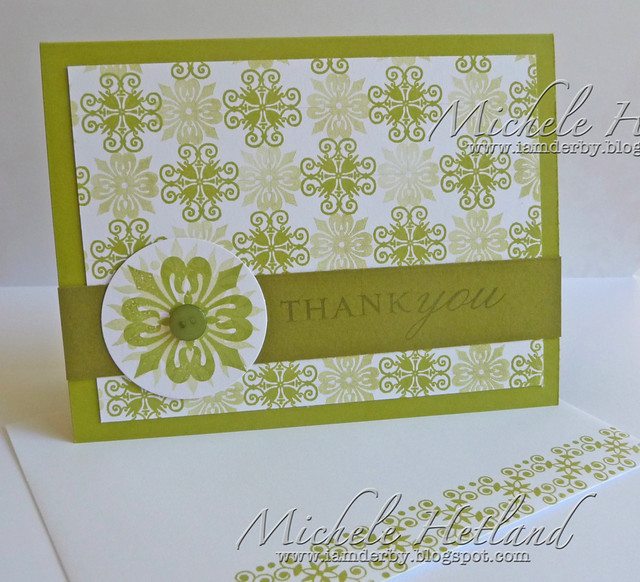
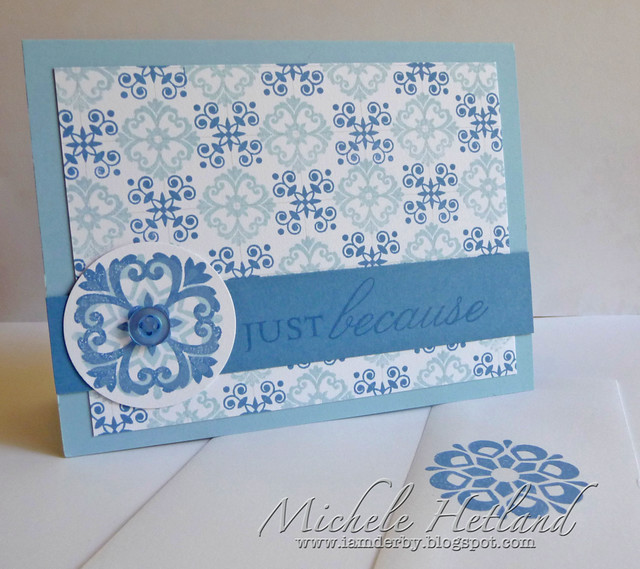
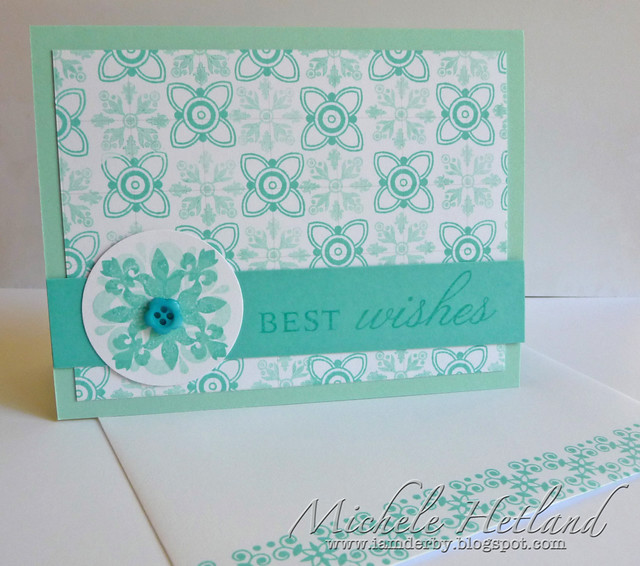
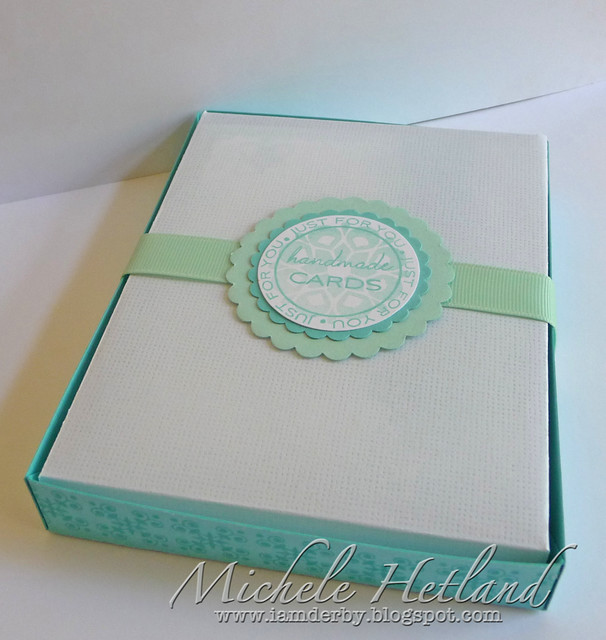
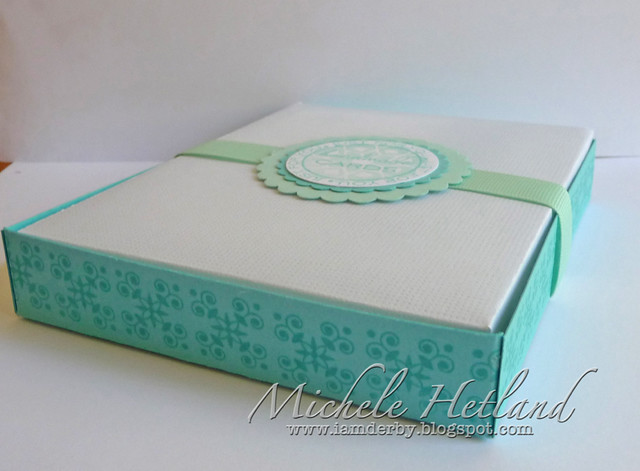
 This is the box they are housed in. I made the base with Hawaiian Shores and stamped it with guidelines 1. I made the lid from linen vellum cardstock. The tag is a combo of Just for You and Giga Guidelines. Ribbon is aqua mist. P1070137 One more view of the box. You can see the stamping better here. Well thanks for stopping by today! I am hoping to participate in WMS blog hop tomorrow so I hope to see you back here then!
Monday, June 11, 2012

Waltzingmouse Gift Set

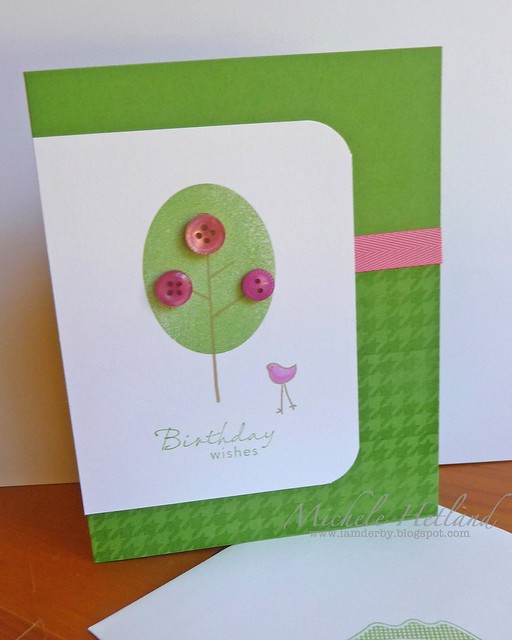
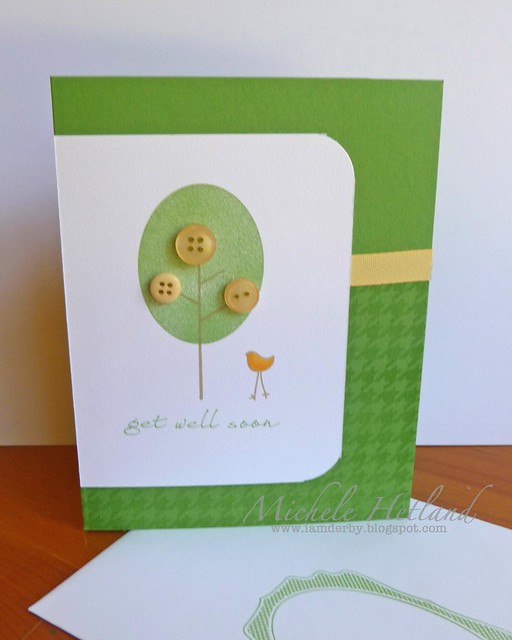
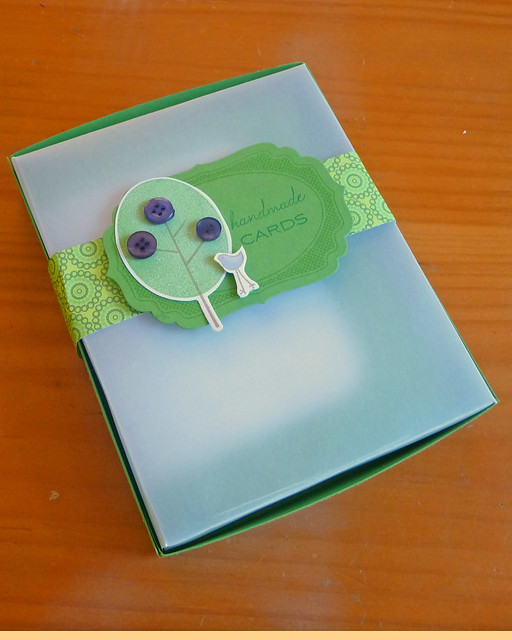
Hello friends!  If you liked yesterday's card, then you will like today's post.  If yesterday's card didn't do it for you- avert your eyes!  LOL!  Anyway I liked the WMS sketch card so much that I made a complete set in different colors.  I added matching envelopes and a little box to put them all in. P1070130 The whole group and the matching envelopes. That is one of WMS label sets used on the envelopes. On the back flap I used the little bird again. P1070128
In yellow here. I also changed up the sentiments. P1070127
A close up of the pink card. P1070125
The box I made to house them in. The colors look a little off here, not sure why. Maybe it needs to go back to photoshop! LOL