Friday, August 10, 2012

Using Up the Old

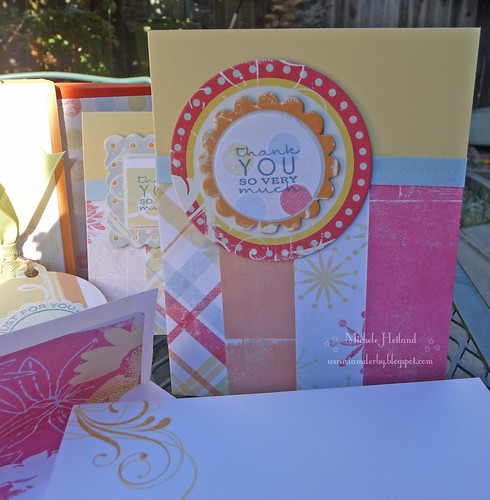
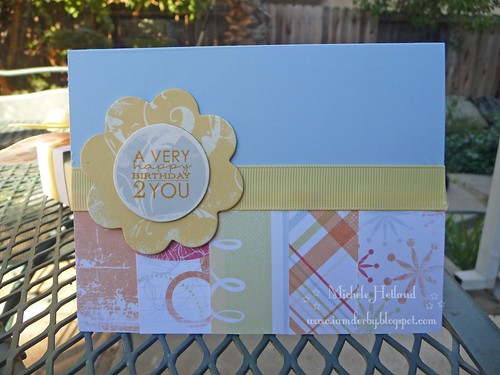
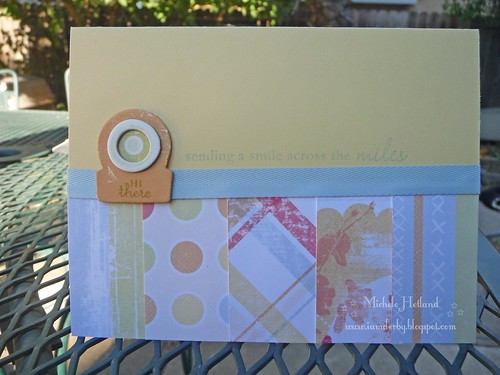
Good Morning Friends!  I have a couple more cards for you from the set I made the other day.  I love that I was able to clear out a huge batch of patterned paper and older cardstock to get these made.  Not only that I was able to incorporate the matching chipboard stickers that I paid a good sum for and then never used.  A couple of tips: gather your old pp and your matching embellies before you start so you can see what you have to work with.  Add in anything else that might go well.  I picked out some coordinating ribbon and some matching PTI cardstock.  Look in your stamp collection to see what might go well for envies and sentiments.
 P1070343
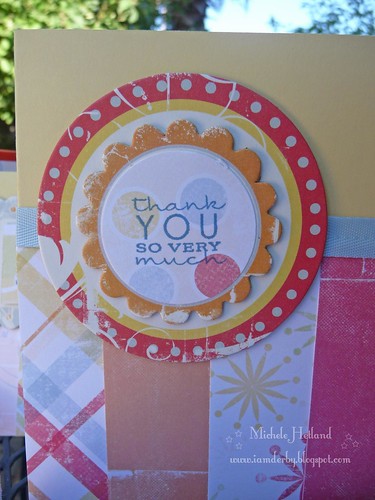
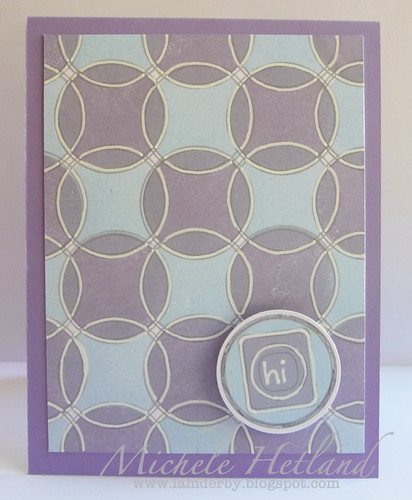
On this card you can see the big chipboard sticker is my focal point.  Unfortunately the middle of the sticker has some silly word on it that I would have never added to a card, not in a million years.  So I went and found a punch to match the size of the center circle.  I punched a piece of coordinating paper and I stamped it with a sentiment I do like.  Then I just glued it right over the top!  And now its exactly as I wanted it.

P1070344
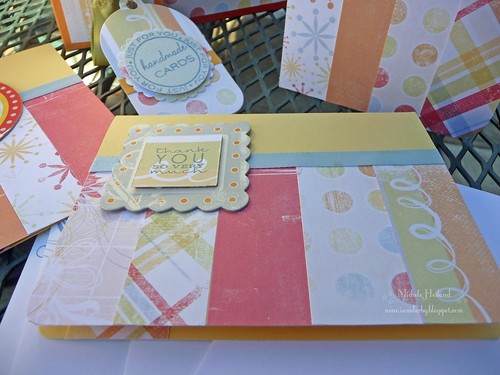
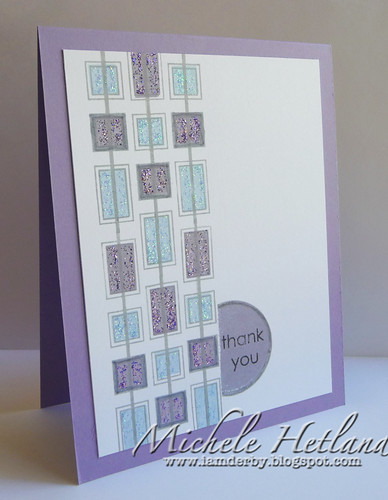
 Below is another card where I did the same thing.  I cut a square to cover up the old (and ridiculous) sentiment and then added a new one with my stamps.  Fun and frugal!
P1070341

Tuesday, August 07, 2012

Flip Box Tutorial

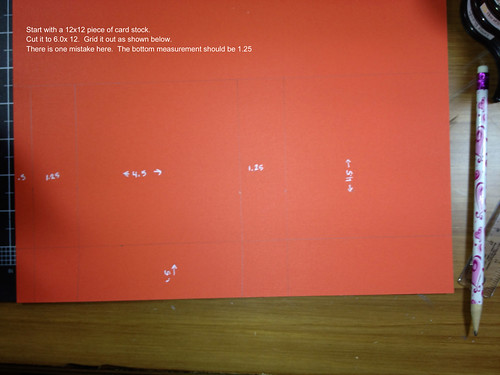
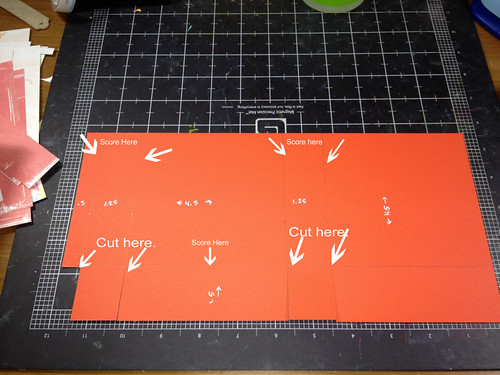
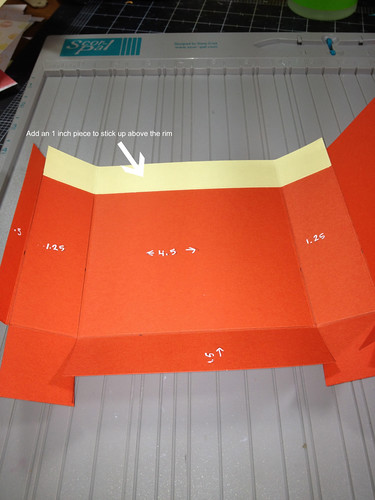
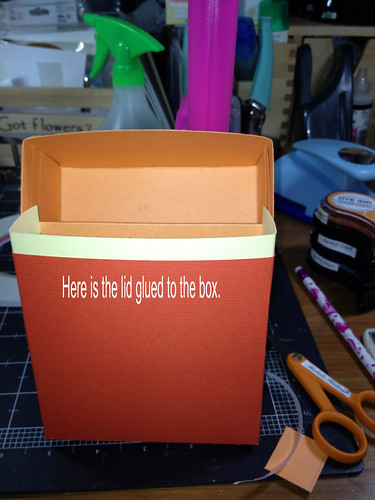
Hello friends! I put together a little photo tutorial of yesterday's box. Please email me or ask in the comments if you have questions. Writing a tutorial is not something I have done a whole lot of so forgive me if I lead you astray! Each picture has directions on it so feel free to enlarge. IMG_1445 IMG_1446 IMG_1447
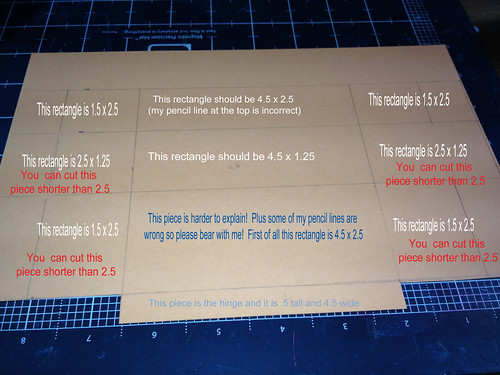
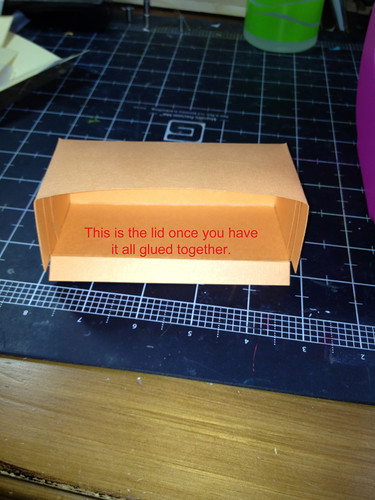
Now we start the lid.  My pictures here are not as good and I made some mistakes so be sure to read the captions.
 IMG_1452
IMG_1454
The caption above is full of typos!  Sorry!  It should say that the middle flaps should be shorter while the top ones need to be 2.5 inches.  I cut it wrong.  I had to throw it out and start anew.  Technically you could glue it that way and it would work but it looks nicer if the top flaps are a full 2.5 inches.
 IMG_1455 IMG_1456 P1070337
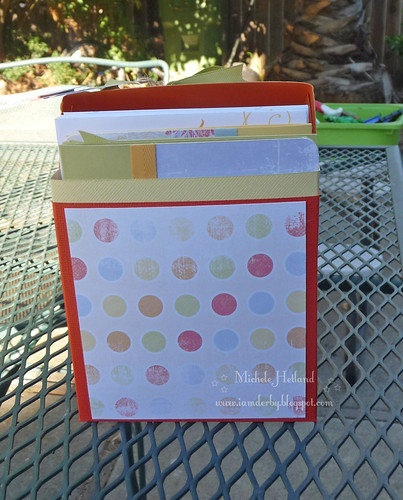
 This is the box with the patterned paper added in. P1070336
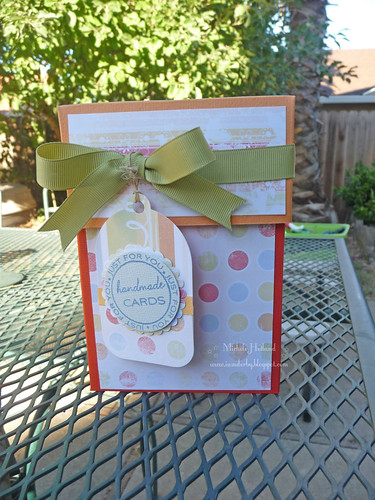
 This is the finished box.  All the little details are what make it so much fun.

Monday, August 06, 2012

Patterned Paper Gift Box Set

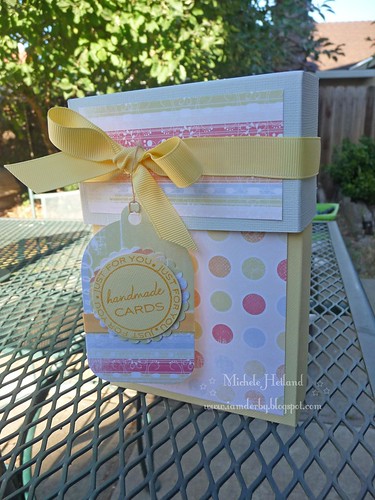
Good Morning Friends! I have a boxed gift set today to share with you.  I edited all these pictures last night and then added a watermark and it appears I did not save it properly.  ACK!  So please forgive my unedited pictures.  I have two sets of cards and because of the pictures I will share the second set and second box tomorrow.  I also have some basic instructions on how to make the box.  I created it myself although I am sure there are similar things out there on the web.
P1070326
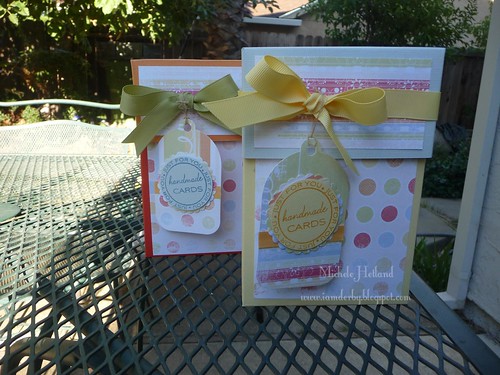
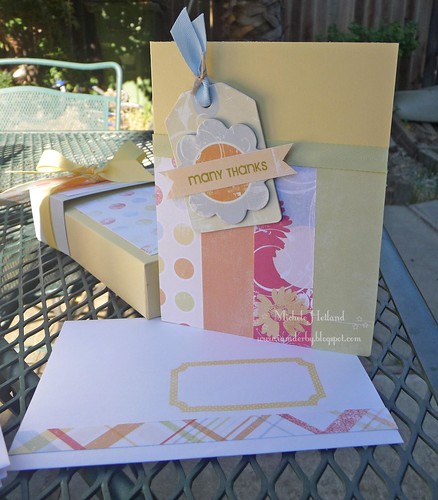
Both boxes are pictured above.   I made the yellow one first and then refined some things with the orange one.  All the patterned paper is from the WeRMemory Keepers White Out collection.  Its really old.  I know this because the price tag was on the back of the chipboard stickers and its from a scrapbook store that went out of business at least two years ago, if not more. 
 P1070327
I have always loved that paper and I am so glad I got a chance to use up a ton of it here.  The box is made from 12x12 bazzill cardstock.  The tag uses the PTI tag sale die.  Ribbon and inks are from PTI.
 P1070328
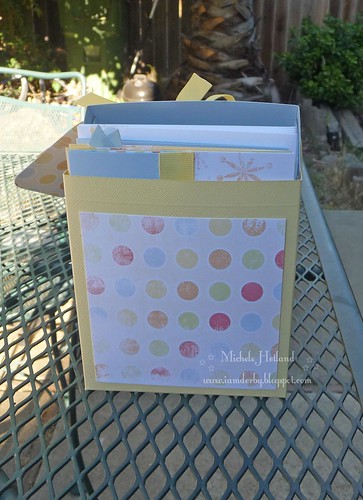
Inside the box.  Its quite roomy.  The lid is nice and tall.  One refinement on the new box is an inner rim to facilitate opening and closing the box.  I will point that out tomorrow.
 P1070329
Card one:  Lots of patterned paper, ribbon and a cardstock sticker.  The CS stickers all had really stupid things printed on them.  So I covered the words with paper and stamped my own sentiments!  I used Fillable Frames, Framed Out and Across the Miles.
 P1070330
Same idea different embellies.
 P1070332
Same idea here as well.  You can also see the envelopes I made to coordinate.
 P1070335
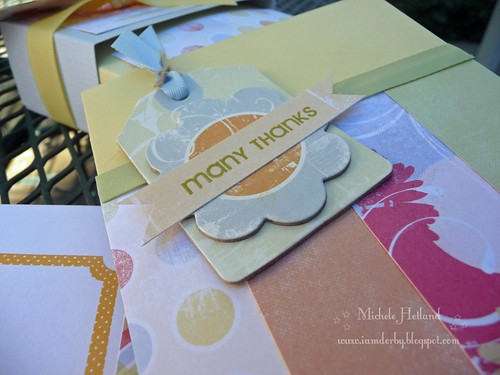
Close up of the cardstock sticker.  I added the banner across to change out the lame sentiment to make it a thank you card. 

Tomorrow I will be back with the other box, the rest of the cards, and a few tips on how to make the box if you are interested.  This was a great way to burn through my 12x12 stash. 

Sunday, August 05, 2012

The Great Faucet Catastrophe!

Hi there friends!  Today I have something a little different.  Instead of a card or box I have my first foray into plumbing.  Something that was suppose to be pretty easy but instead turned out to be CRAZY!  I knew there was a reason to call people for these types of things.
It started because the faucet looked like this.  Yes, it is 1990's brass.  It's hideous.  This is the children's bathroom where I am positive they care nothing about how the faucet looks.  They also care nothing about hanging towels and picking up their clothes.  One day after picking up their towels again (they were not home to be summoned to pick up their own towels) I decided to forgo the (completely beat up hideous brass) towel racks and purchase some new hooks.  Down at the store I realized that brass is so "out" they don't even sell it anymore!  So I purchased brushed nickel hooks.  I installed them and they looked great except the brass now stood out ten times more!  So I thought, "Self, you should just replace that faucet".  Self and I looked it up on Google where we were assured it would be an easy task.   I can't tell you how many websites, youtube videos, and facebook friends told me it would be a piece of cake.  I should have known better, after all I am the queen of the glass is half empty.

So it was off to the Home Depot where I purchased a new brushed nickel faucet and toilet paper holder.  Next I went home and made sure I had all the necessary tools that Google recommended.  I cleaned out from under the sink and contemplated on how exactly I was going to wedge my body in there.
 Above is the tiny hole into which I had to squeeze my entire upper body.  I am fairly certain having smaller boobs would have helped immensely here.  Once you have your body in there you block all the light and then you need a lantern.
Above is the original brass toilet paper holder that came with the house when it was built back in 1990.  Charming, no?  Notice how the center is silver.  My husband bought a replacement a few years back and decided it was just easier to add the middle part then replace the whole thing.

I began with the demolition of the old faucet.  I carefully followed Google and You Tubes instructions for the dismantle.  Everything was going swimmingly until I had unbolted every part and the faucet still would not lift out.   Apparently you need to pull kind of hard.   After discovering this tidbit the sink look liked this:
 Everything is out.  No more faucet and no more drain.   Getting the drain out was harder then the faucet and I had to draft my 11 year old daughter to help me out.  She is a princess and did not wish to dirty her hands.   To get the drain out you need to remove the trap- the u shaped pipe under the sink- when you do that dirty water will come pouring out.  Hopefully you put a bowl under there.  I did!  But it also got all over my hands and it was sooo gross and smelly.
This is the bag of disgusting faucet parts.  I was using it for trash.  Everything that went in was so grimy and gross.  But at this point I was really happy.  I felt like putting in a faucet was easy and I was contemplating doing even more faucets!  I should have known...

The next step is installing the new stuff.   I got in the new drain and the new faucet fairly easily but as I was going to rehook the supply lines (where the water goes into the faucet) I noticed one line looked different from the other.  One had a little black gasket on it.  The other was plain silver.  This I knew could not be good.  I went looking for the other black gasket and found it wedged into the old faucet.  I tried to dig it out but it just crumbled everywhere.  So I naively thought I would just go buy a new gasket.  Naive....very naive... and this is where the faucet installation takes a turn to the dark side.

At the Home Depot I ask the helpful man where I might find these little gaskets.  I am informed there are no such things.  You must replace the entire supply line.  I have the old kind of lines (I had no idea) and you must remove everything- the line and the angle stop valve it is hooked to.  This will involve shutting off the water to the entire house and getting down there with two wrenches, dismantling the old angle stop and putting in a new one.  Clearly not easy.  Mr. Helpful gave me the parts I needed and then recommended I do both lines.  I told him no, the other isn't broken.  Well let me say this- if the guy at Home Depot says you need two, save a trip and buy two.  Lesson learned.
Above is the bad supply line.  Before attempting faucet replacements check your lines!  Lesson learned!  Whats bad is that the line is integrated into the valve.  The line can not be replaced without the valve being replaced.  Replacing the valve is not easy.

These are good valves.  You can remove just the supply line if needed.  These are the ones I (with tons of help from my husband- umm maybe he actually did it while I held the second wrench) installed.  Notice there are two new ones.  That guy at the Home Depot knew what he was talking about.   Installing these took like three hours.  All the water to the house has to be turned off and our main shut off valve was acting up.  I got sprayed in the face once.  I flooded the bathroom and by the time I was done I looked as if I had gone swimming in my clothes.  And all that was after my hubby graciously decided to help me.   At one point both me and my husband had to stuff our upper bodies into that tiny cabinet.  Go ahead scroll up and look at that tiny cabinet.  Me and my husband... laying belly to belly in those tiny openings.  Did I mention I had gotten him out of bed and he hadn't brushed his teeth yet?  Yeah it doesn't take long to foul up  2 cubic feet of air.    We got the first one done, turned on the water and it sprayed everywhere.  We took it off, reinstalled it and tried again and it held.  I was so happy!  My husband left to go shower (and brush his teeth!!) and I rehooked the old supply line to the other side.  Well wouldn't you know it- we turned on the water again and it sprayed everywhere (it was my third bath under the cabinet!)  Turns out the other gasket also crumbled.  So it was back to the Home Depot for another valve and another line.  We start to replace it and realize I bought the wrong size line.  In my defense all the lines look the same!  So back to the Home Depot again.  They have these little cameras on the self check lanes and what I would give to have my videos from each purchase.  Each time I went in more wet and more pissed off than the time before.  By the end my hair was on end, I smelled of dirty water, and my clothes were dripping.  A pretty picture I was not.  However we did get the last valve and line in, it did not leak.  My husband helped me reassemble the drain- its hard to get it tight enough, you need to really put some muscle behind it.  Below is the finished product:
 But uh oh... what do we see here?  Its brass on the bottom of the mirror.... Its like the "If you give a Moose a Muffin..." of bathrooms!  If you replace a hook, you need to replace a faucet.  If you replace a faucet, you need to replace a mirror....  Will I be able to leave the mirror???  I hope so!
At least the TP holder matches!  Please ignore my filthy floor.  I promise I have mopped since then!
THE MORAL:  Check your supply lines before attempting faucet replacements!  And listen to the guy at Home Depot!

Thanks for stopping in!  I have a really cool box of cards that made and I promise that will be the next thing up.  No more crazy home repair for me!

Wednesday, August 01, 2012

It's August!

P1070255
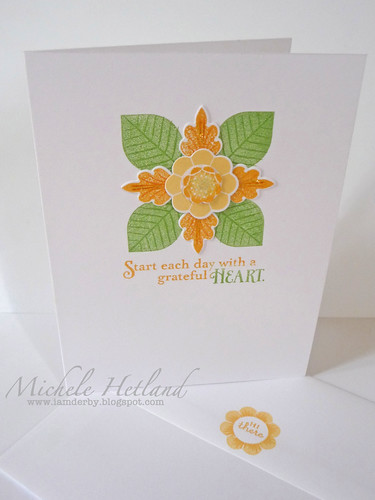
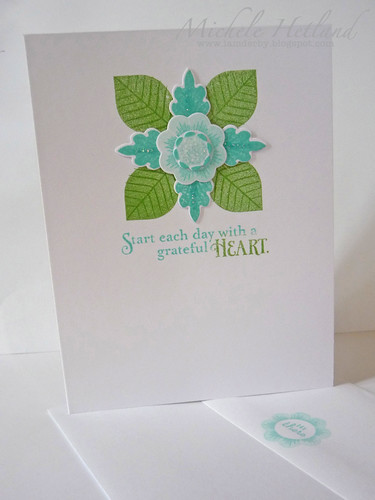
Good morning friends! Have a little something for you today. This is from PTI Hello Sunshine set. Not sure if buying that set was a mistake or not. I haven't really used it and I don't really have a lot of ideas. Kind of falls into that what exactly was I thinking category. Not sure what I will do with it. Its not even the full set as I sold off a lot of the sentiments to a friend. Anyway here is the card. Hopefully I am back in town for awhile and I will get some things done! Today I am installing a bathroom faucet. I am sure cussing will be involved. Have a great Wednesday!
Friday, July 27, 2012

I am back!

Hello friends! Well I am back, for the moment anyway. I have made exactly one card since I came home and this is it. I am still on a high from my awesome 5 days on the east coast. P1070325
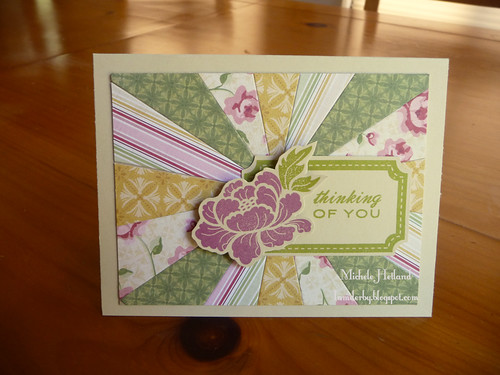
This card uses the sun dies from PTI. The papers are from Cosmo Cricket- fairly new. Stamp sets are Fillable frames and Pretty Peonies. I used Simply Chartreuse and Autumn Rose i nk.

Below are a couple of shots from my NYC/Connecticut trip.  I can not even tell you how much fun I had.  It was the best!
IMG_1315
 At Grand Central enjoying the bar.
 IMG_1353
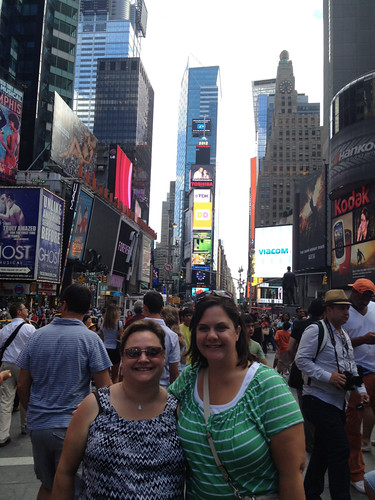
In Times Square gawking at the crowd.

Monday, July 16, 2012

Digital Scrapbook Page- Disney

Hello Friends!  I have my first from scratch Digi scrapbook page.  As I have mentioned several times I have been learning PSE (Photoshop Elements) from JessicaSprague.com.  In fact that banner sticker is hers and recolored it.  All the other cute stuff on here I downloaded from http://justjaimee.com/.  If you have never made a digi scrapbook page one thing you might find interesting is that you can do as little or as much work as you want.  The easiest way to go is with a digital template.  The other pages I shared used digital templates from JessicaSprague.  Those are very simple to use, you just clip in your pictures and add your journaling.  The page above is made from many different elements.  I used two different papers, a border, three ribbons, two stickers, and a brush.  Each bit is downloaded and can be colored and tweaked and then added.

Will I keep this up?  I have no clue!  But it is so fun to find/buy new digital kits and play with all the parts.  Its almost as satisfying as using actual paper.  One thing the above page is missing is drop shadows, which are little shadows to make it look more real.  Somehow I forgot that part- ah well.  A little at a time, piece by piece.  Thanks for stopping in and as soon as I am back from NYC I will be back with some new cards!

Sunday, July 15, 2012

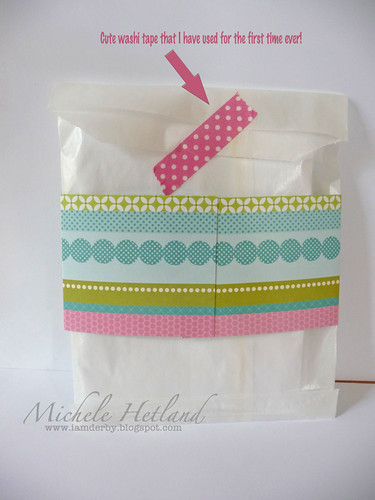
Lovely Layers Card Set with Quick and Easy Packaging!


Hello friends!  Well I made it back from Southern California where the hubby and I took the kids to Disneyland for a few days.  I have crafted exactly one thing since then and here it is! 
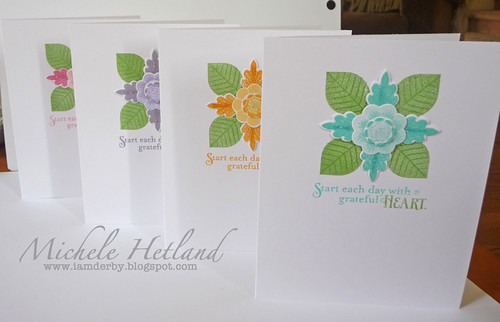
 P1070306
It's a card set using the PTI stamp set, Lovely Layers.  I also have the dies for this set and used them here as well.  Most of the ink is PTI but there are some dew drops mixed in as well.
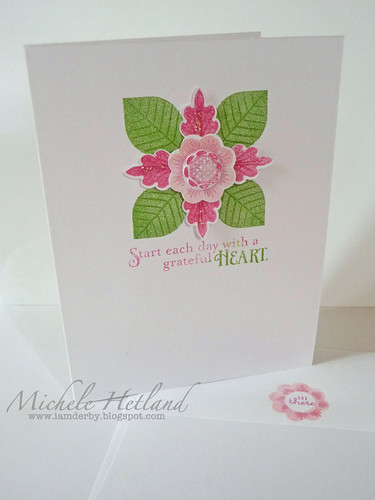
 P1070307
This pink card was the first one I made.  I love the mulitcolored sentiment.  When I was done with this card I liked it so much I decided to make a set.  Whenever I make a set I do up the envies too so that is what you see on the bottom.  Its the back flap.  I also added stickles to the focal point for a little glitz.
 P1070308
In Summer sunrise and golden harvest here....
 P1070309
Hawaiian shores and aqua mist....
 P1070310
Winter wisteria and plumeria dew drop....
 P1070311
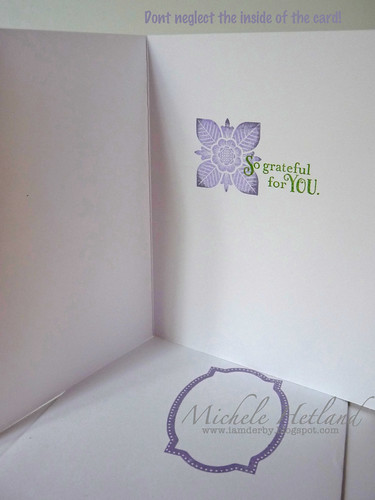
 The inside of the card needed a little something as well.
P1070312
I've got some notes for you on the picture.  I finally learned how to use the text feature in PSE and now I am out of control!
 P1070313
 Thanks so much for stopping in today.  I am off to see my good friends on the East Coast soon and then after the 24th the blog will resume a more normal posting schedule!

Saturday, July 07, 2012

Wedding Card

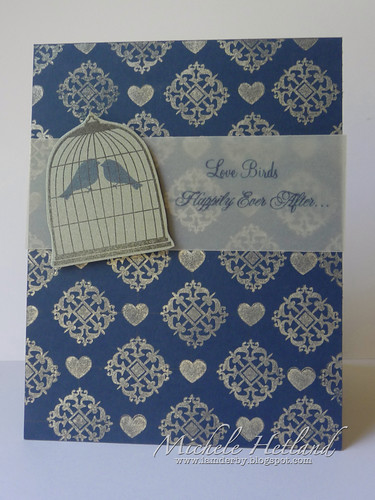
Hello friends!  I have a wedding card for you today which is not something that I make too often.  I used an old set from PTI called Wedding Day along with a newer PTI set called Love Birds.  The background is made with two stamps from Wedding Day.  I drew out a grid with my T square to keep things on track.  I stamped in silver ink on Enchanted evening paper.  I cut down a strip of vellum and combined the Love Bird sentiment with a sentiment from wedding day.  Stamped those in Enchanted evening.  I stamped the bird cage on silver paper and cut it out.  Added two enchanted evening birdies.  Thats all there is to it!

P1070253
Wanted to let you know the blog posting will be real sporatic until after the 24th of July.  I've got some out of town and in town plans that will leave no time for crafting let alone picture taking and blogging.  I do have a couple of photos still waiting to be blogged and if I have time I will schedule them but right now I am thinking thats probably not going to happen.  So in any case thanks for coming by and I will see you in the end of July!

Wednesday, July 04, 2012

Happy 4th!

Hello friends!  Happy Fourth!  The 4th of July just happens to be my daddy's birthday.  I always thought that was pretty amazing when I was a kid.  We thought all the fireworks were just for him.  Hmmm I wonder who led us to believe that?!  Anyway here is the card I made for my dad.

P1070252
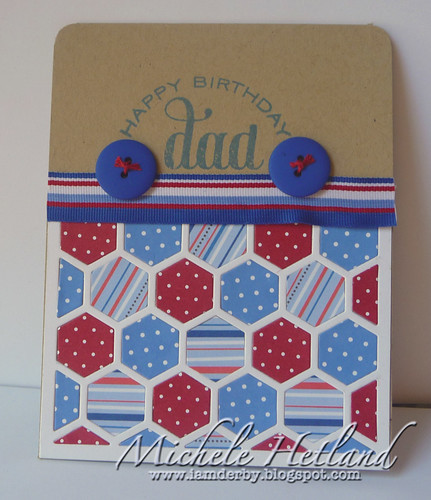
I sometimes wonder if my dad gets sick of his birthday having a red, white, and blue theme. I remember many of his cakes being these colors as well!  For the card I used PTI's Happy Hexagon plate, doodlebug papers, ribbon, and buttons.  The dad sentiment is from WMS compact relatives (I think thats the name).  The happy birthday is from PTI birthday basics.  That's it for card stuff!

I just wanted to say Happy Birthday Dad!  I love you and I think you are a wonderful father.  I hope your birthday is enjoyable and you have a good time celebrating with my niece, stepmom, and baby brother.   Hope to see you soon!  And here is a very old picture of Dad and me:
Here we are back in the day- circa 1976 I would say.  Notice the gorgeous couch and "matching" afghan!  LOL!

Sunday, July 01, 2012

Queen Bee

Hello friends!  Happy July 1st!  Wow, this summer is flying by!  I have a few more days until my plans really pick up the pace- so for now I will enjoy the leisurely summer I have going on so far.  Today's card was made specifically for a friend of mine.  She was celebrating her 40th birthday yesterday.  I was reading a book and then suddenly out of nowhere this card idea popped into my head.  I threw the book down and fairly ran to the craft table.  It came together really fast. P1070251
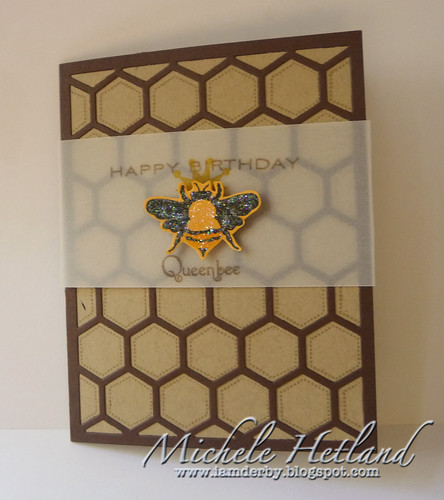
 I started with the PTI hexagon coverplate.  I cut the coverplate out of dark chocolate paper.  I laid it on my craft and then stamped the little interior stitching in craft ink.  Next I got a piece of summer sunrise and stamped the big bee from honeybees.  I hand cut the bee and added crystal stickles.  I got a piece of vellum and stamped on Happy Birthday (Birthday Basics) and Queenbee and the crown from HoneyBees.  Thats all there was too it!  Thanks for stopping in today!

Friday, June 29, 2012

Just Because....

Good Morning Blog Friends!  I have another guidelines card for you today.  I made this back when I was making all the others but then I got distracted by Shapes by Design, lol!  Anyway its been sitting in the picture que waiting its turn!P1070173
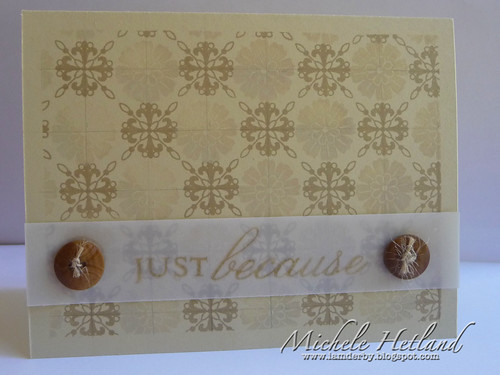
 This card has a fine linen base.  I masked a border using eclipse tape.  I drew a grid on in pencil using my trusty T square.  Then I set to stamping the design using stamps from both guidelines 1 and 2.   I used kraft ink and a chalk ink (dew drops wheat?).  The vellum border is stamped with a sentiment from giga guidelines.  The buttons are from my real "vintage" button collection.  A friend's mother gave them to me, she clipped them off old clothes and the like.

Thursday, June 28, 2012

More Shapes by Design

Hello blog friends!  I have the last of the Shapes by Design cards for you today.  I worked on these a few weeks ago but just recently got around to editing the photos.
 P1070174
This first card has the circles over lapped just as they were on the teal/green card I shared a few days ago.  However this time I took my white gel pen and outlined the circles so they stand out more.  On the sentiment where the grey looks a bit messy I outlined it in a twinkle pen, in real life it just looks sparkly, in the picture it just looks uneven.  The colors used here are Winter Wisteria and Spring Rain.

 P1070175
On this second card I used the same color scheme.  I used the rectangle stamps and I masked the circle for the sentiment.  I used stickles in blue and purple over each of the boxes.  It is so sparkly in real life, not so much in the picture.   Anyway just a few more things you can do with the PTI shapes by design set.  A lot of possibilities with that one- especially if you like clean and/or graphic designs.

Wednesday, June 27, 2012

Happy Hexagons and Other News

Hello friends! Happy Wednesday! Boy do I love summer! I have been spending the last few days getting to know Photoshop elements through classes from Jessica Sprague. So worth the money (no they are not paying me to say that). I am excited because it went from so frustrating to so cool over the last few days.

 Also brought to my attention today was the inability to pin any of my cards. I did not do that on purpose. A few months back I switched over to using Flickr instead of uploading directly to blogger. Apparently the default on Flickr blocks others from sharing your work. I have opened up my permissions, so feel free to pin away. I am always flattered by that.

 Ok, on to today's card. This one uses the new happy hexagon stamps from PTI. I have a color scheme of lavender moon, autumn rose, and scarlet jewel (old dye version).  Its weird cause the autumn rose is almost as dark as my old scarlet jewel.  I am not sure what the new scarlet jewel is like.  The sentiment is stamped in Autumn rose as are the floral hexagons.  The gingham are in SJ.  P1070176
Thanks for stopping in today!

Tuesday, June 26, 2012

Lovely Layers 2

Good Morning friends! I am just about to dash out the door to spin class but I thought I would take a minute to update the ol' blog. You may notice I have a new header. Made it with the Jessica Sprague free class. It needs tweaking but I like it well enough. P1070177
And here is today's card! I am in love with the Happy Hexagon cover plate. LOVE it! Also pretty in love with Lovely Layers as well.  I have a golden harvest base stamped with summer sunrise ink.  White hexagon cover plate.  Autumn rose, scarlet jewel and lavender moon lovely layers with some New leaf accents.  Thanks for stopping in today- I gotta run if I am going to make my class!