Showing posts with label teachers. Show all posts

Monday, September 10, 2012

Cake in a Cup!

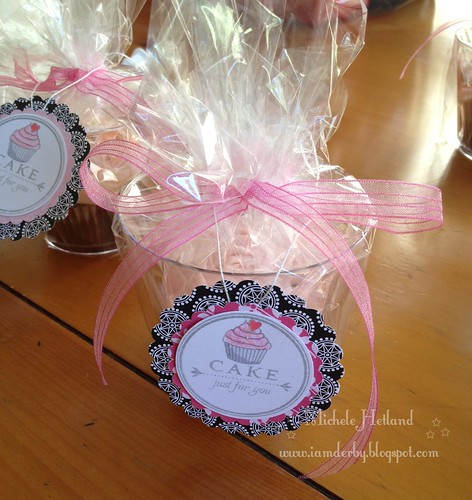
Hello friends I have some cute packaging for you today!  I originally got this idea from Pinterest.  I pinned it from this site:  Bird on a CakeUntitled
Basically what you do is make some cupcakes.  When they cool plop them into a clear 9 ounce cup and frost them.  I used a big 1M tip and some swirly pink frosting.  After they are frosted then you cut some cellophane to cover the cup.  Tie on a pretty ribbon.  Make some tags.  I used PTI's stamps.  Two different sets.  The cake is Tiny Treats: Valentine.  The circle and just for you are from another set that I can't remember the name of.  The black paper is PTI.  The pink papers are from a variety of makers.
P1070361
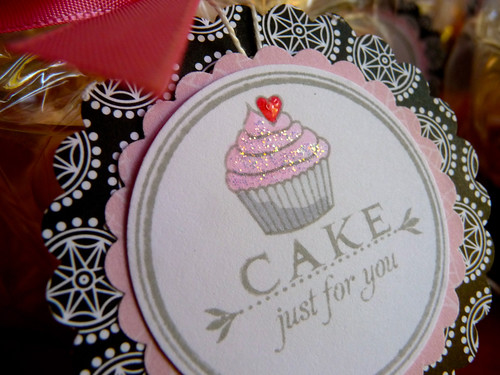
A close up of the tag.  I used some stickles and glossy accents on each one.
 P1070360
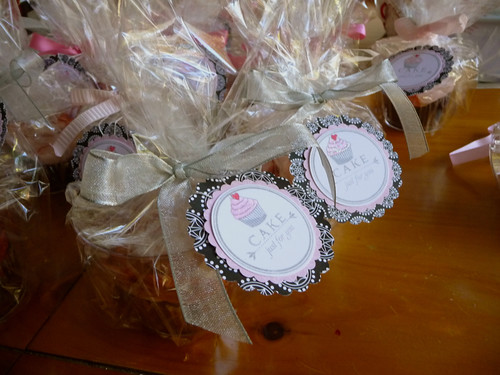
Here are some with silver ribbons.  I ran through three full rolls of ribbon to make 24 of these.  I gave them away to my coworkers on the first day of school.

Saturday, February 18, 2012

Valentine Pouches and Bookmarks

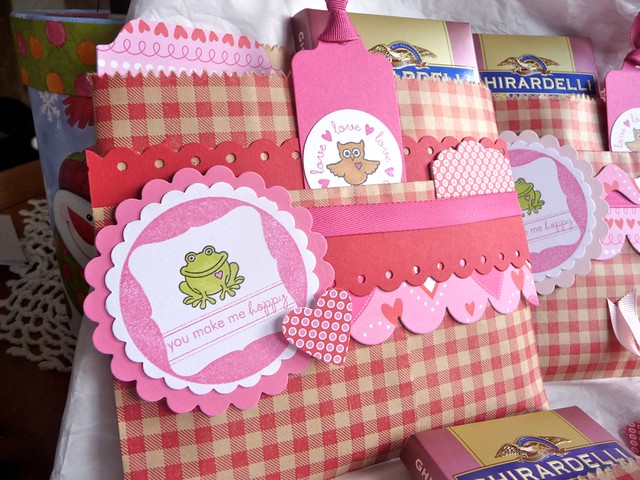
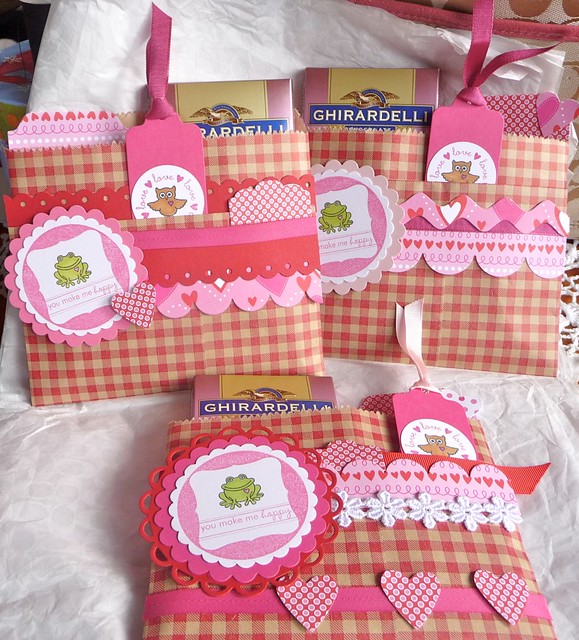
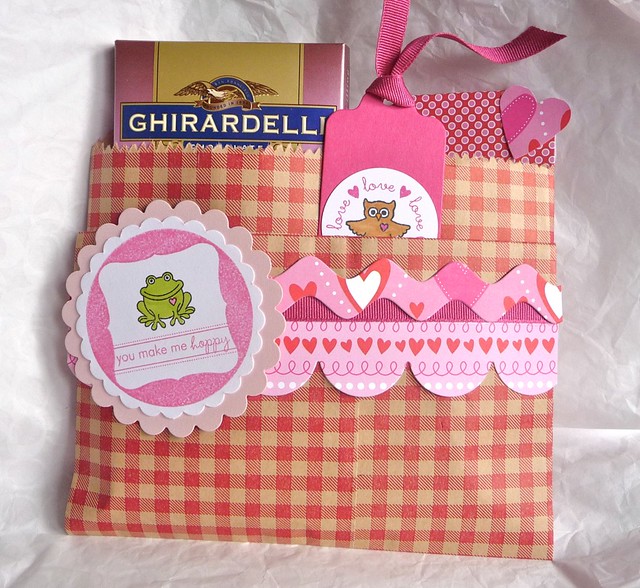
P1060849 Hello friends! I have some Valentine fun for you today. These are the pouches I made for my kids' teachers.  I got the cute little bags from Michelle Phillippi.  You can buy them in her shop.  I folded them half way up and then secured them with score tape.  This gives you two pouches.  One from the fold and one in the bag.  I have seen them done where people sew them but I do not enjoy sewing.  The score tape worked great.  Next I added lots of little fun pieces from pink and red cardstock and some patterned paper (Simple Valentine)  In the bag are some giant Ghirardelli bars and some smaller candy and a bookmark.

P1060848
Here are all three together.  Each one is a little different.  I get bored doing the same old thing.
 P1060847
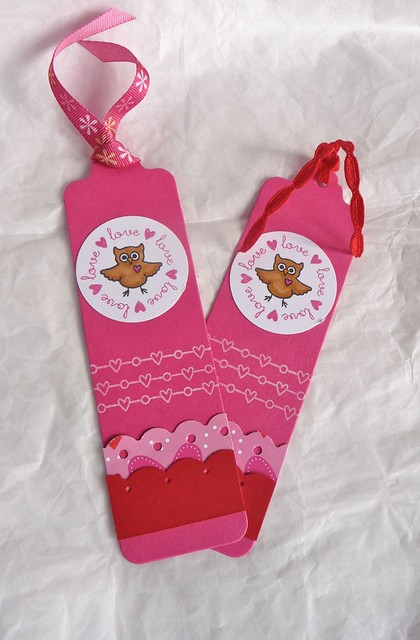
Next the little bookmarks.  I used the bookmark die, some old ribbon, scrap paper and Simple Valentine and Tiny Treats stamps.
 P1060846
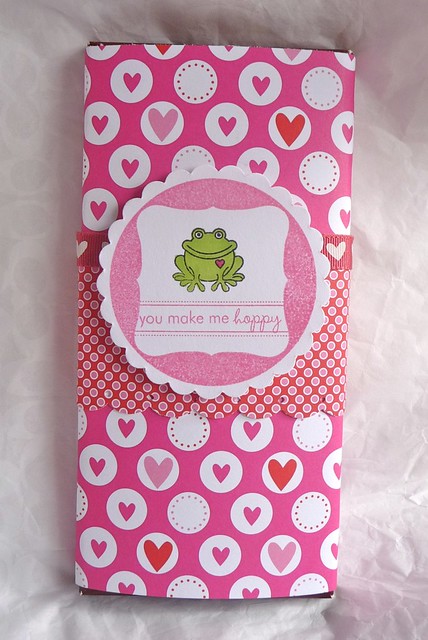
 Last we have the candy bar wrap.  I did this up for my hubby.  Its another giant Ghirardelli Chocolate bar.  I wrapped it in pp and added a stamped embellishment.
That's all I have!  Thanks for stopping in!
 P1060850

Sunday, December 18, 2011

Teacher Gifts


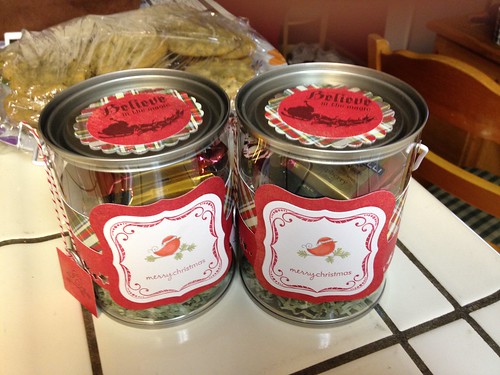
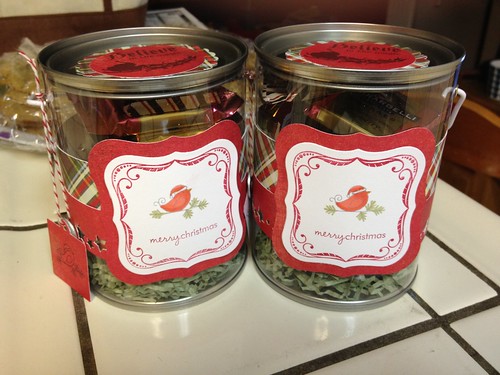
Well hello blog friends! Its been awhile. Nothing major, just the usual December madness. I have a couple of paint cans that I decorated for my kids' teachers last week. The kiddos are now on vacation but the school district I work for has us working up until December 23rd!!!! No wonder I feel tired.  Anyway these little cans are from Target.  They were in the dollar spot.  I picked up four (they only had six and two were a little dinged).  I used some old Basic Grey patterned paper and some stamps from WMS and PTI to fancy them up.  It only took about 15 minutes to make both.

Monday, June 20, 2011

Can You Stand Another Card Set?

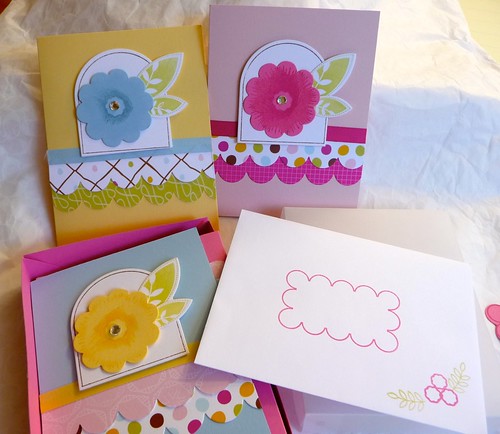
Good Morning Friends! Its the first day of my summer break and I am thrilled! I did get up and take my kids to school as they have two more days (different district). This is the last of the teacher gifts. This one is for my daughter's Language Arts teacher. Same basic construction as all the boxes from the last week.P1060262
For this box set I used all PTI stamps. The sets were: Fillable Frames and Sending You. I used some PTI dies as well. The patterned paper is from American Crafts and PTI. Vellum and Cardstock by PTI. The inks are from a variety of sources including, Dew Drops, PTI, and Colorbox.
P1060263
None of the cards have sentiments. I couldn't decide where to put it so I ended up leaving them blank. This was a rush job done during my last teaching week of school so I was working very quickly.
P1060265
I did take the time to decorate the envies. I really like decorated envies. I think it just makes the card that much better. Do I always do it? No, but I should! LOL.
P1060264
So tomorrow I am off to Colorado. My kids and hubby are staying home as this is a work trip for me. If you know many teachers, then you know its not often they get a work trip- especially to another state! This is some side work with curriculum that I am doing with a textbook company. I have never done anything like it and I am really looking forward to it. As soon as I get back I will turn around and drive down to Moss Landing- which is right near Monterey, California and very close to my hometown. I will be teaching science at the Moss Landing Marine Lab to other elementary school science teachers. We will be learning both lesson structure ideas and actual science content. I have been involved in this program for the past 3 years and I am really looking forward to this as well. I am going to miss my kiddos but I am very excited. Anyhow that is my long winded way of telling you that the blog will be dark. I am trying to put together a few posts for while I am gone but it may not happen. I will be back for good on July 1... and hopefully soon after will have some crafty goodness for you again. Thanks again for stopping by!

Wednesday, June 15, 2011

Teacher Gift- Apple Cards

Hello Friends! I am back with another teacher gift. This one was for my friend, Lisanne. She is a new teacher at our school. She just graduated her first class of little Kindergarten kids. I thought next year she might need some cutesy cards.P1060246
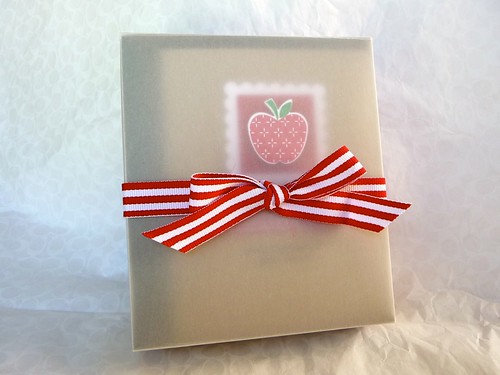
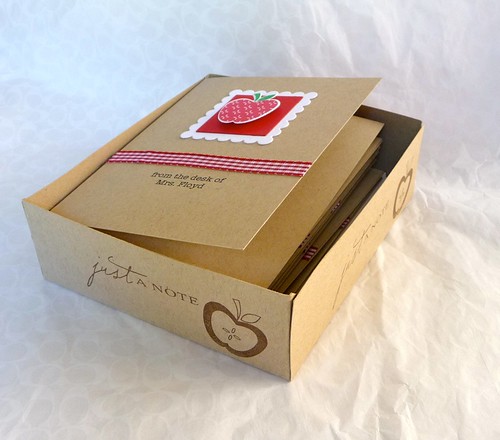
Same basic idea as the previous two days. Box of cards with a vellum lid. This time the lid goes over the outside of the box (because measuring is not my strongest skill), other than that its just like the others. The sides are a little deeper because this is an 8 card set.
P1060247
The "from the desk of...." is printed on using the computer. I used microsoft word to do this. I learned how from a great tutorial on Jennifer McGuire's blog. All other stamps are from Papertrey ink. I was using the anniversary set and Fruit Fusion Apples.
P1060248
The red box and the scalloped white box are nestabilities. The red gingham ribbon is from Making Memories (Big Lots score from last summer). The polkadot frame on the envie is from fillable frames.
P1060249
I hope you like them. Thanks, as always, for stopping by my blog!

Tuesday, June 14, 2011

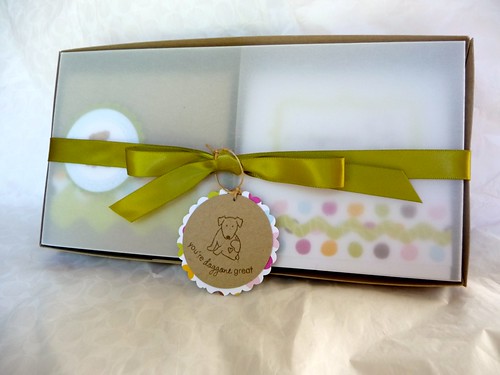
Teacher Gifts- Doggie Notecard set

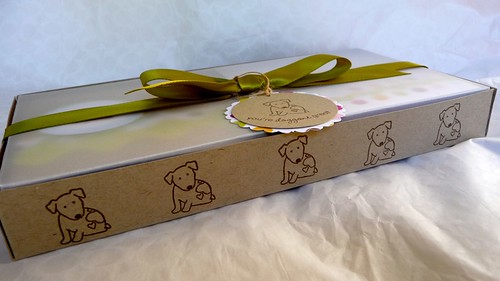
Good Morning Friends! I have another notecard set for you today. This one is for my son's teacher. She loves dogs. This happens to be the only dog stamp I own. Its from Tiny Treats Valentine by PTI.
P1060234
It's the same basic construction as yesterday's box. Except that the cards are 3.75x3.75 and I laid them next to each other to get the measurement for the bottom of the box. All other measurements (adding the 1.4 inch and the inch all around) are all the same. I stamped the little dog onto the sides. Isn't he cute? Vellum top made very similarly to yesterday's project.P1060235
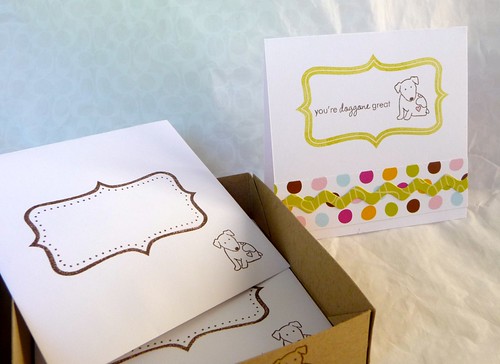
Inside you can see the two different notecards. The patterned paper is from American Crafts. Sunshine or something like that. I cut it out using the large and small ric rac dies. On the front we have stamps from Tiny Treats, Tag Its, and Fillable Frames. A variety of inks from a variety of sources were used as well.
P1060236
The 4 inch square envies are also from PTI. I decorated them to match the little notecards.
P1060237
I have kraft envies for the kraft cards and white for the white ones. I love those cute little envelopes, they really make the gift. You might also be noticing a divider. Just a little piece of scrap card to keep the cards from shifting everywhere. If you put in a divider you will need to cut a little slit in the lid to go over it. Simple and easy to do.
P1060239
Thanks so much for stopping by my blog. I appreciate you taking the time to come by! Have a good week!

Sunday, June 12, 2011

Teacher Gifts- Butterfly Card Set

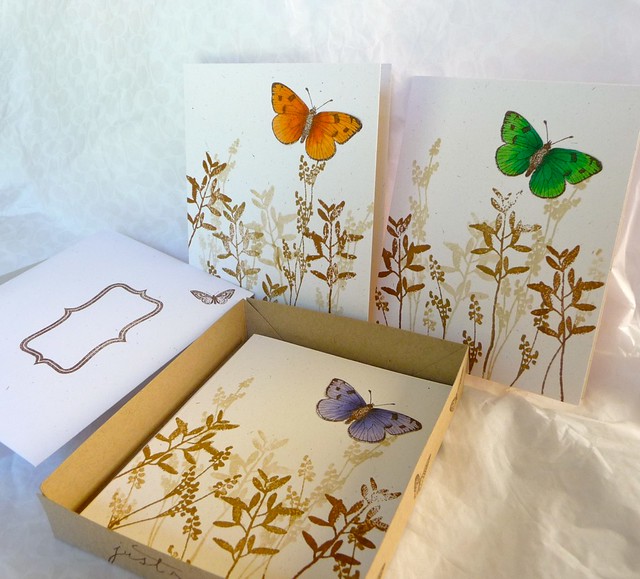
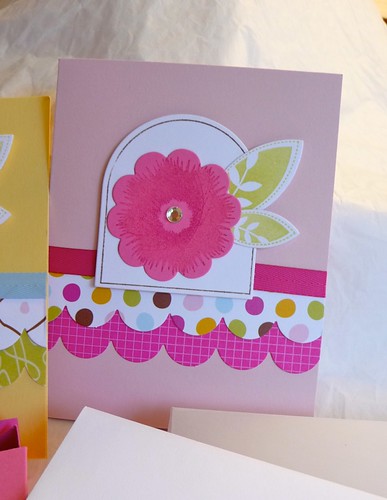
Hi Friends! I have something pretty for you today! Its one of those things I don't want to give away! That happens on occasion! This is a gift set for my daughter's teacher. P1060241 Lets start at the beginning shall we? This box is made from two pieces of paper; a piece of kraft cardstock and a piece of vellum. I am using PTI vellum which is much thicker than any other vellum I have worked with. I don't think it would work so well with a flimsy vellum. It would work fine with clear acetate. P1060242 Making the box is pretty simple. Simply take the size of your card (mine was 4.25 x 5.5) and add a quarter of an inch. So that would be 4.5 x 5.75. Then add an inch to all sides. So now we are at 6.5 x 7.75, with me so far? Cut your cardstock to be 6.5 x 7.75. Score at 1 inch on all sides. Cut into two of the short lines on the two long sides so that you can fold up your little box. Clip the corners at a diagonal so they don't peak out. Now before you glue it together stamp your little sides. Keep in mind that the fold is the bottom, that way when you put it together it will all be right side up. (yes, I have ruined many a box with upside down stamping). Ok now for the vellum piece. This is a little trickier. First of all it needs to be just a hair smaller because the lid tucks in the box not over it. So remove about an 1/8th of inch from the original measurements form the bottom. Fraction time! LOL I just cut mine to the original (6.5x7.75) then I scooch it over and take off an eighth of an inch from the width and the length. Now go score that puppy at one inch on all sides. Cut into it the same way and give a test fit. Does it fit perfectly? If so slap on some score tape. If it poofs upwards to much go back and trim a little off the sides, then slap on the score tape. Ok box is done!
P1060243 Moving on to cards and envies. If ever there was a time for a decorated envie, its now! Lets do that first cause its easier. Select your envie. Stamp a coordinating stamp on the flap. Then turn it over and use an adorable fillable frame for the addressee portion and a cute little matching stamp in the corner. Repeat for all envies.P1060245
Last but not least, we have the cards. Cut your paper and score it. I am using rustic white by PTI. Stamp the background with a variety of brown inks. I am using Life stamp set by PTI and distress inks in vintage photo and brushed corduroy. I am also using PTI chai ink. When the backgrounds are done go dig up some scraps of cream colored or white cardstock. Stamp the butterfly as many times as you have cards (and maybe one more in case you screw up). Color the butterflies with your copic markers (or color medium of choice). I used stamps by Hero Arts. Dark chocolate ink and copic markers. Go stamp the butterfly on each of your cards. Cut out the butterflies that you colored. Go ahead and cut off the antennae, you will use the ones on the cards. Adhere your colored butterflies over the stamped ones. That's it! Cards are done. Put the cards in the box, top with the lid. Tie on a pretty coordinating bow ( I used PTI terracotta tile satin). Make yourself a cute tag using a butterfly (color it pretty) and a fillable frame. Glue em together, punch a hole and tie on some twine. If you measure carefully (ha I did not!), and don't drop anything in an ink pad (who, me?) you should finish this in about an hour or so. Have fun!

Tuesday, May 04, 2010

Teacher Appreciation Day

As some of you may know I am a teacher. I am also the president of my school's PTA. So in honor of Teacher Appreciation Day I came up with some crafty stuff to honor our staff. It was technically from our PTA. Our teachers work so hard and I wanted to make sure they were feeling appreciated and loved.
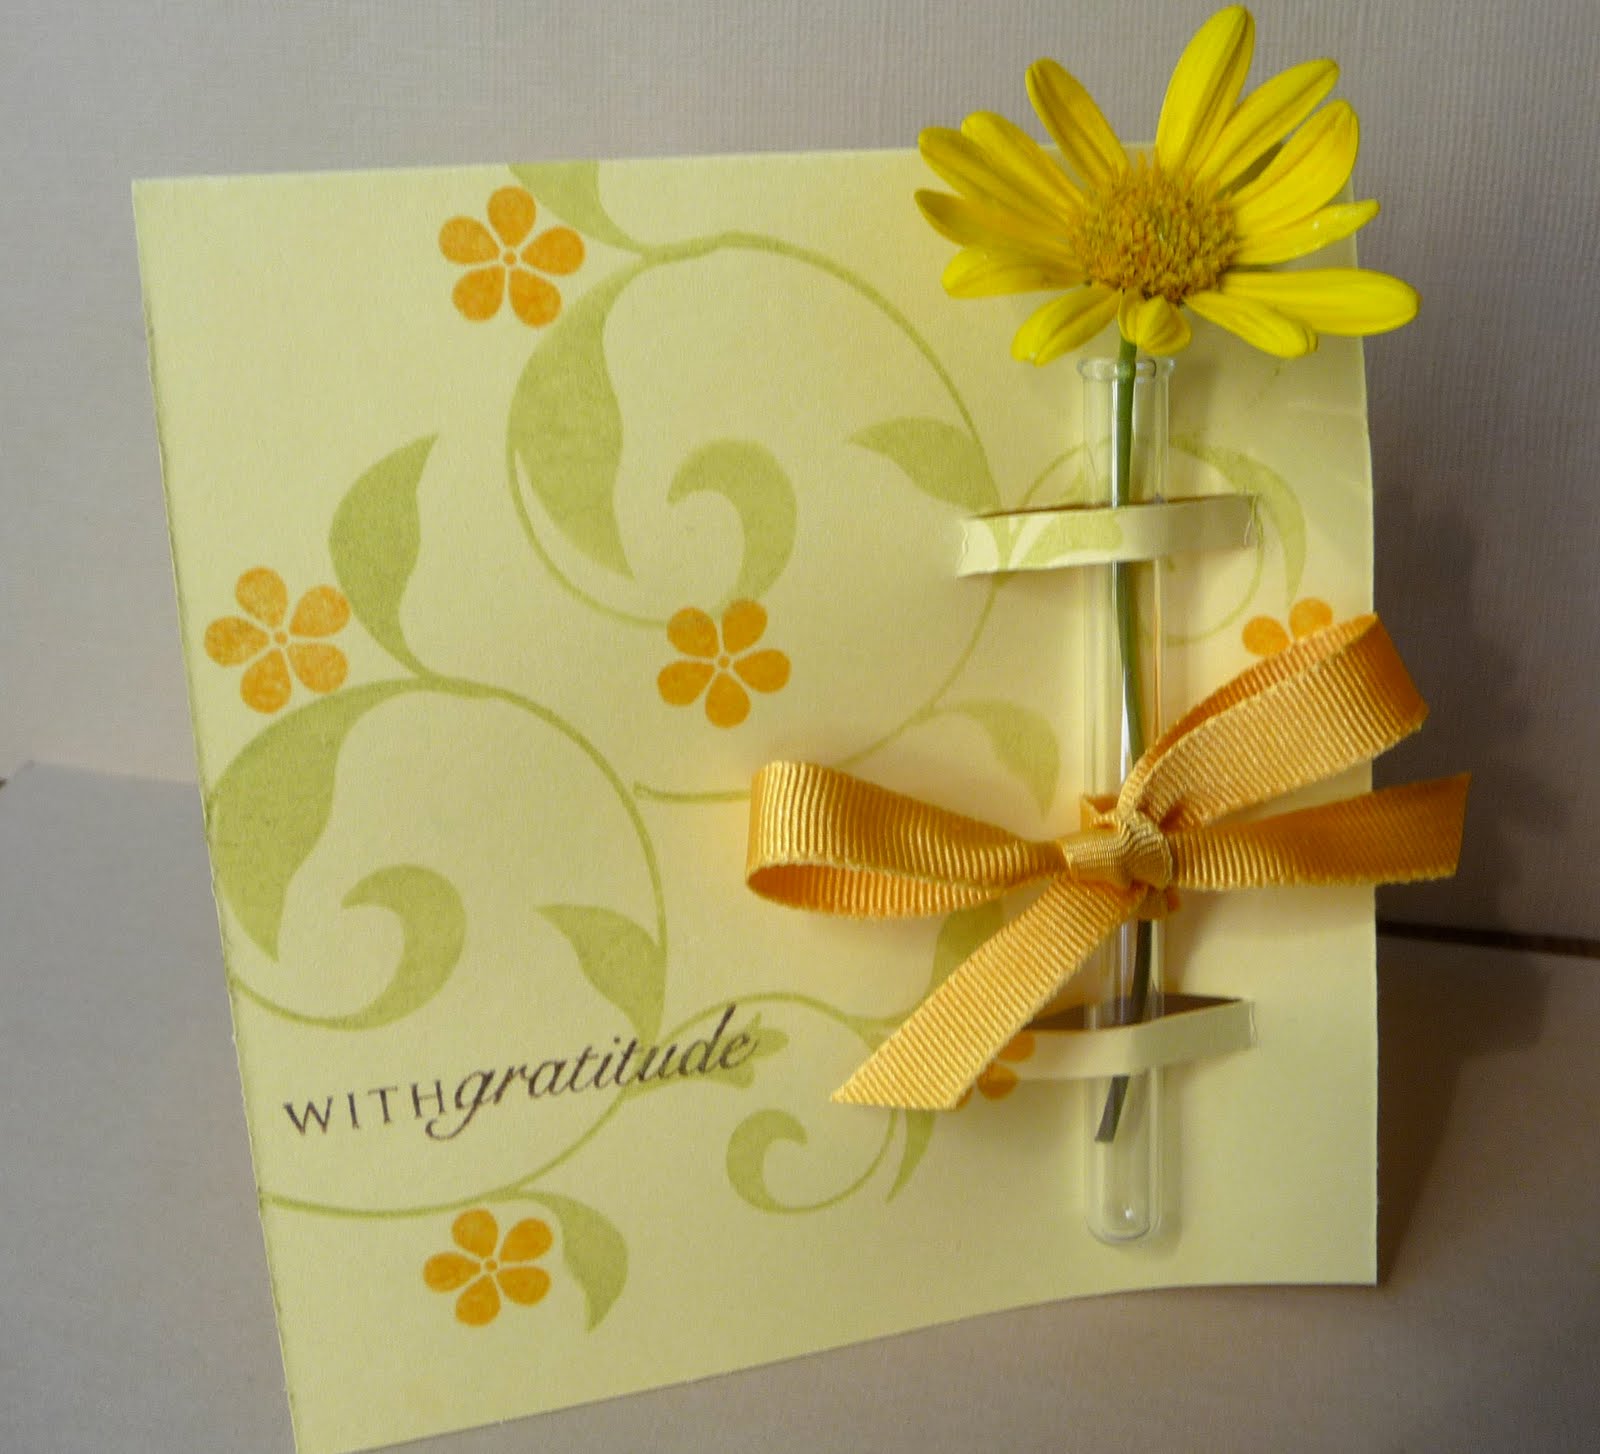
I began by baking some yummy chocolate cupcakes. I found some really cute kraft liners at my local grocery store. I frosted them with homemade butter cream icing and sprinkled them with white nonpareils.I was out junk shopping and I found these tiny little test tubes. I have no idea where you might find some for yourself. Those tiny tubes set me off in the path of a card holding a live flower. My little cards are 4 x4.5. I stamped them with PTI's Turning a New Leaf. I used spring moss ink on Spring Rain, Sweet Blush, and Lemon Tart cardstock. I stamped the little flower in coordinating ink. The flower is from the With Sympathy set. The sentiment is from the new Anniversary Set, Round and Round. In the first close up you see a yellow daisy but when I actually filled them I used tiny roses. They came out so pretty. I wish I had gotten better pictures.
Here you can see the rose. Isn't it pretty? I tied each card with a bit of ribbon and attached the tag using rustic twine. I inserted the little test tube by cutting four slits in the cardstock. You have to put in the little tubes before you fill them. I filled them with water using a pipette. An eyedropper would also work.
Each teacher had their name attached using some tags I cut out of rustic white paper. I used a cuttlebug tag die. I stamped on it using Turning a New Leaf and the With Sympathy flower. Then I hand wrote each name. The inside was stamped in dark chocolate using my Just Rite stamper to make a personalized greeting from our PTA.
And here they are all lined up together with the extra flowers in the background. Apparently I can't count because I had twice as many flowers as needed!

Wednesday, December 23, 2009

Teacher Gifts

Edited to Add:  I am entering those little pizza boxes in Ted's boxing day challenge.  A fun little challenge with a great prize.  Go here for all the deets.

I started off with three mini composition books.  I saw them first on Poppy Paperie (link in side bar).  The actual book was sent to me by a sweet PTI Forum member, Sueann.  I covered them in PTI bitty box paper in spring rain and sweet blush.  I stamped them with the notes stamp from PTI Take Note and the little snowflake from Holiday Treats.  I made the snowman using PTI's Made of Snow.  Its stamped on white and cut out and glued to the cover.  I ran twill through the notebook to hold the pen.

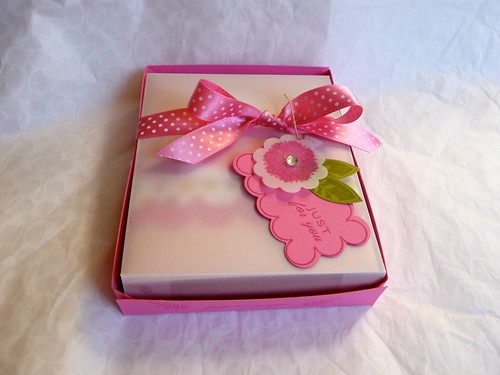
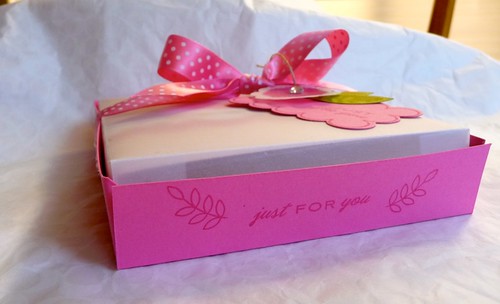
Next they all got nugget filled pizza boxes.  This particular box was made with spring rain and sweet blush card.  I stamped the interior and exterior with Polka Dot Basics.  The labels were done with Holiday Treats.  The only non PTI stamp is the lovely label frame from Waltzingmouse stamps.
If I am not back on before Christmas I wish you a happy one!  Thanks for stopping by!

Monday, August 17, 2009

Back to School!

Hello friends! It is back to school today for my kiddos! (I work in a different district which does not start until September 8th, if /when I get my job back.) This is the first year I have made first day gifts. What do you think? I, as a teacher, have never gotten a first day gift so I know I would be thrilled- but then I would be thrilled with anything! LOL!This first one is made with Basic Grey and DCWV paper.  I've got some MM ribbon and some cute PTI  and Doodlebug buttons.  Stamps are from MM.
This paper is from ???.  I got it out of my stash.  The accent paper is DCWV and PTI cardstock.  Stamps from MM.  Ribbon from PTI.  Buttons from PTI and Doodlebug.
This background paper is from Rusty Pickle (they are smart enough to print their name on the back! haha!) Accents by DCWV, cardstock by PTI.  Ribbon and buttons by PTI.  Other ribbon from Michaels.  Thanks for Looking!