
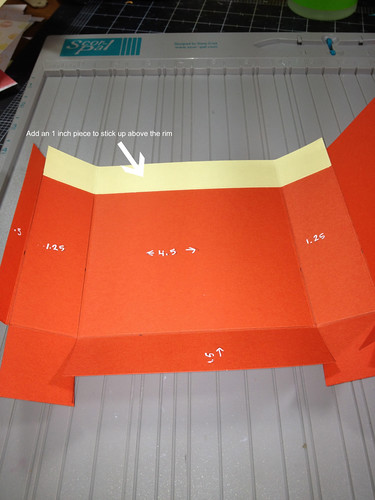
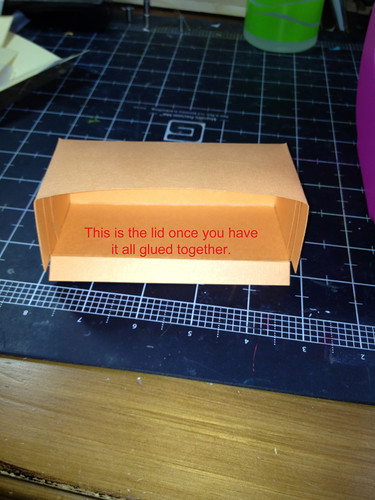
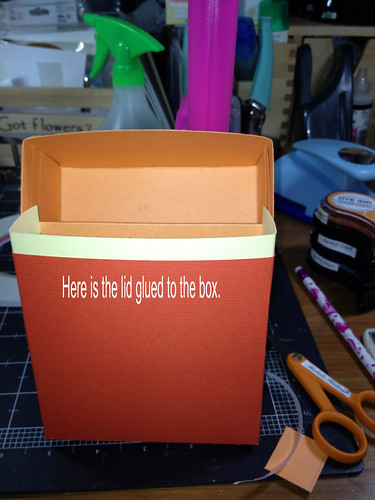
Now we start the lid. My pictures here are not as good and I made some mistakes so be sure to read the captions.
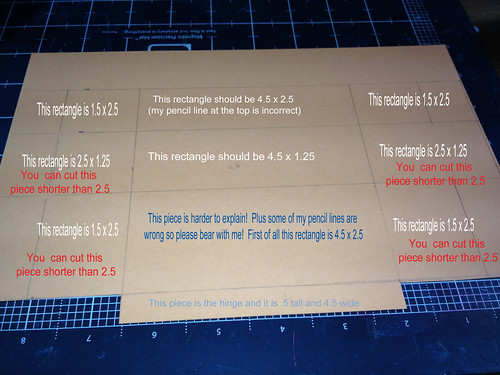

The caption above is full of typos! Sorry! It should say that the middle flaps should be shorter while the top ones need to be 2.5 inches. I cut it wrong. I had to throw it out and start anew. Technically you could glue it that way and it would work but it looks nicer if the top flaps are a full 2.5 inches.
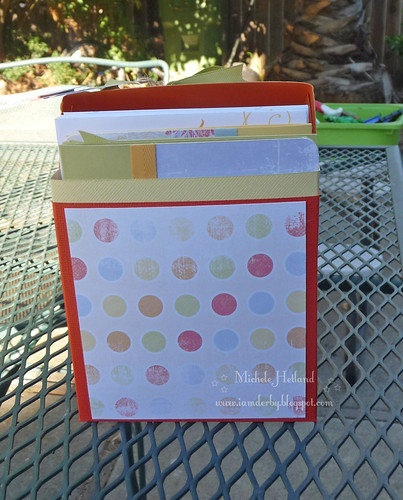
This is the box with the patterned paper added in.
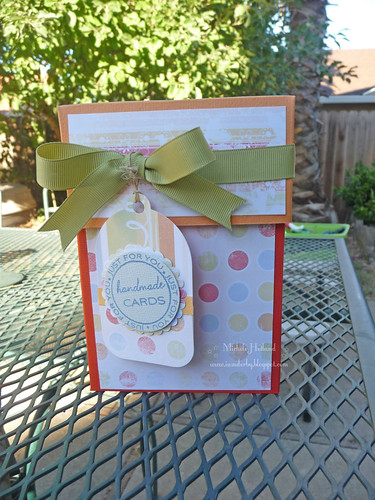
This is the finished box. All the little details are what make it so much fun.
1 comment:
This is a really neat looking box, Michele. I like the idea of the lid being attached to the main box. Your card sets are really fun too! Great way to use up a variety of patterned papers! thanks for all your instructions and pictures!!
Post a Comment